Shopping Bag
Your bag is empty — browse and find something you like?

Your bag is empty — browse and find something you like?
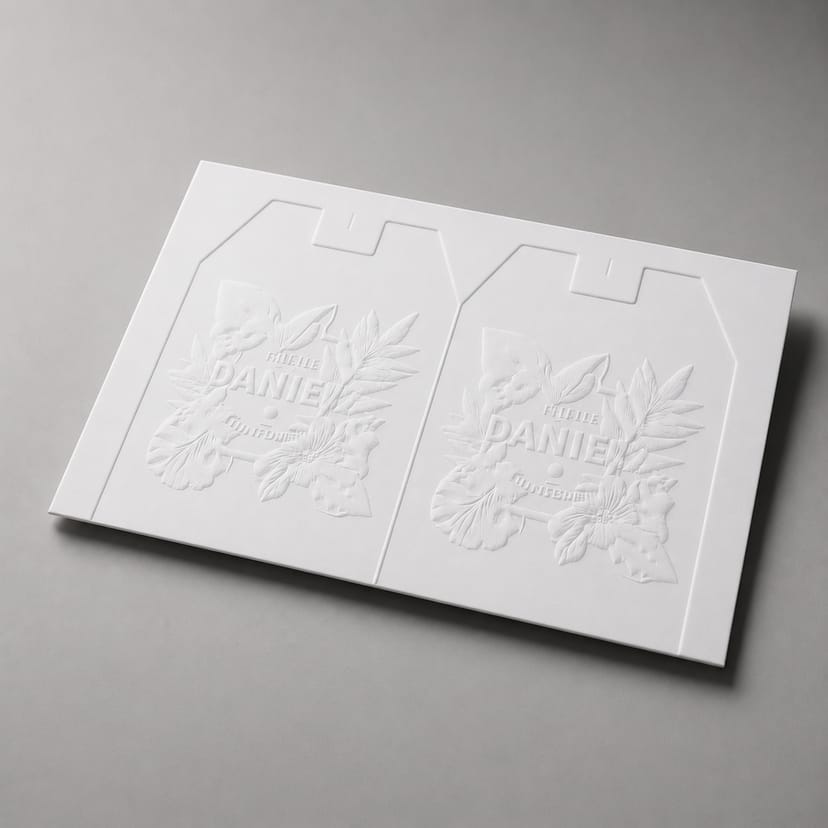
Combining embossing with matte lamination gives your name cards, invitations or membership cards a premium finish and professional image.
Want a name card people remember from the first touch? Embossing raises the Logo/Slogan (with a slight corresponding recess on the reverse), while double-sided matte lamination adds understated substance and a premium feel. It is especially suitable for brands, membership cards and invitations.
Keeping the embossing to a focal area gives the cleanest result; details on the matte laminated surface have low glare and are easy to read.
Embossing medium-to-bold lettering gives the strongest tactile effect; generous white space creates a more premium look.
Rather than relying on a glossy finish, this option makes an impact through light, shadow and texture; ideal for premium brands and boutique services.
A raised Logo or text immediately adds dimension to the card, while the reverse has a corresponding recess for a more memorable tactile finish.
Matte lamination reduces glare and gives a smoother feel, creating a cleaner, more premium appearance.
Double-sided lamination helps resist scratches, light splashes and colour fading; ideal for long-term storage in a wallet or card holder.
| Option | Effect / risks | Best for you if... |
|---|---|---|
| Within 20 × 20 mm (recommended) Logo / small graphic area |
The cleanest and most reliable option; it preserves card flatness and creates a clear tactile focal point. | You want an understated yet tactile finish, with the Logo, English name or symbol as the embossed focal point. |
| Within 90 × 54 mm (large area) Larger graphic / layout |
Creates a stronger visual effect, but design density must be controlled; an excessively large area may affect flatness. | Your layout is simple with plenty of white space, and you want an immediate impact when the card is picked up. |
Use CMYK
Create your artwork in CMYK colour mode and at the correct dimensions
Ensure image clarity
All images should look sharp at 100%, at a minimum of 300dpi or above
Create outlines
Convert all text to outlines and embed all images or linked objects
Save your file
We accept PDF, AI and PSD source files; for special finishes we accept AI only
From posters and backdrops to booklets, we do it all! Let our professional design team craft eye-catching print work for you.
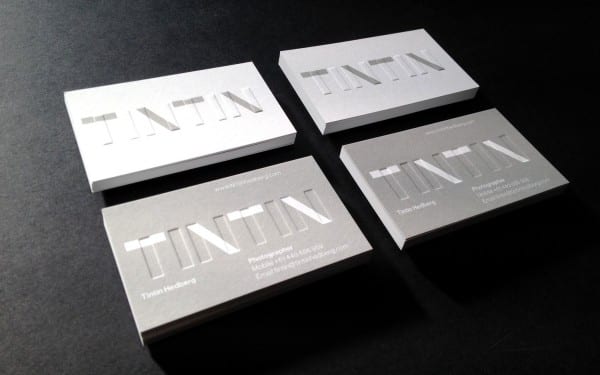
Embossed and debossed business cards don't shout the way gold foil or 3D UV does — but with the right design, they look first-class. This showcase walks through the three most common approaches — blind (colourless), coloured, and foil emboss/deboss — with real card examples, the paper stock behind each, and practical notes on where the finish works and where it doesn't.
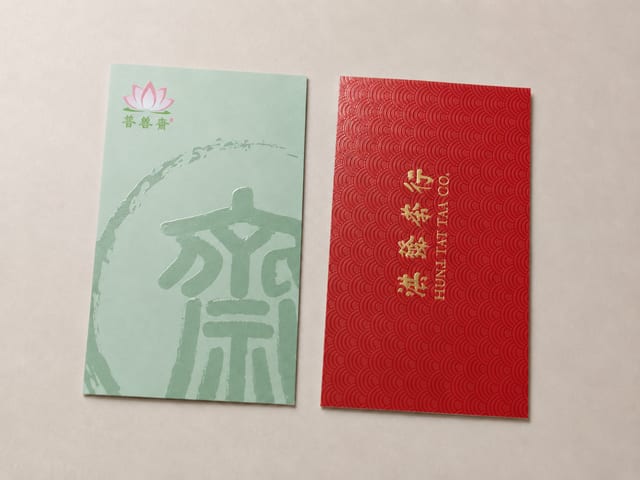
Should specialty paper cards get spot UV? Textured stocks win on grain and hand-feel, while spot UV needs a smoother, laminated surface to read as crisp and glossy. This guide explains why the two rarely pair well, when to choose spot UV matte cards versus specialty paper cards, and what to confirm before you send artwork.
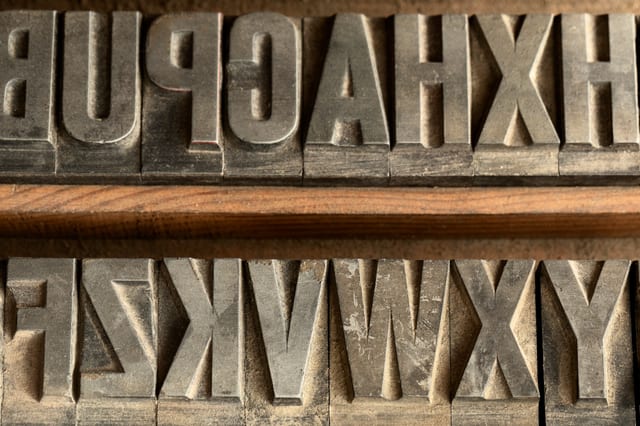
Debossing and embossing break the flat plane of the paper, and three-dimensional design simply reads as more premium. This showcase walks through seven real debossed and foiled cards from Printing Banana customers — from 600gsm cotton stock to eggshell paper and gradient prints — each rated for impact and design difficulty.

Of all the ways to finish a card, laser cutting is the most striking — a focused beam slices clean through the stock to create details no die-cut can match. This guide covers how the process works, the 8mm and 1mm artwork rules designers need to know, and how duplex and coloured stock make the cut-out really stand out.
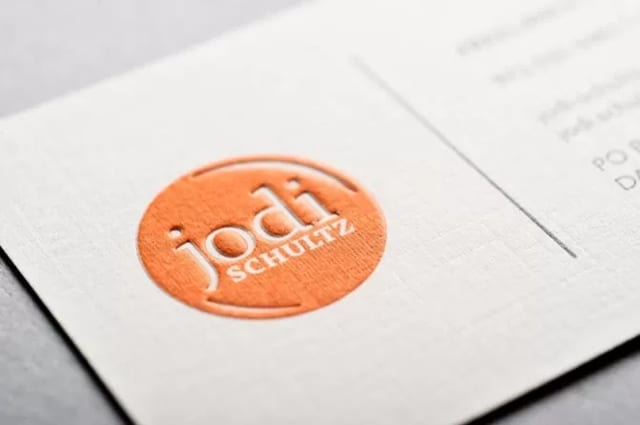
After foil stamping, embossing and debossing are the finishes clients love most — a raised or recessed area that gives a flat card genuine texture you can feel. This guide covers the angles and depths printers work to, which paper stocks take an emboss well (and which crack), how coloured emboss is really produced, and the line-weight rules for print-ready artwork.
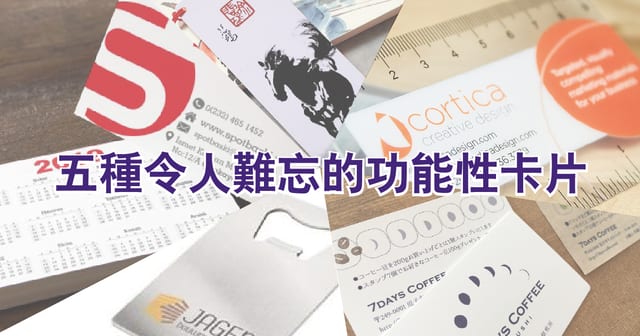
Most business cards get tossed the moment they change hands. Here are five functional formats — bookmark, loyalty stamp card, year-calendar card, ruler and bottle opener — that give a card a second use and a longer life, along with the paper, stock and finishing that suit each one.
