印蕉 Printing Banana
Product

Vintage Red Rose Wedding Invitation Est. 7 working days

500+ sold

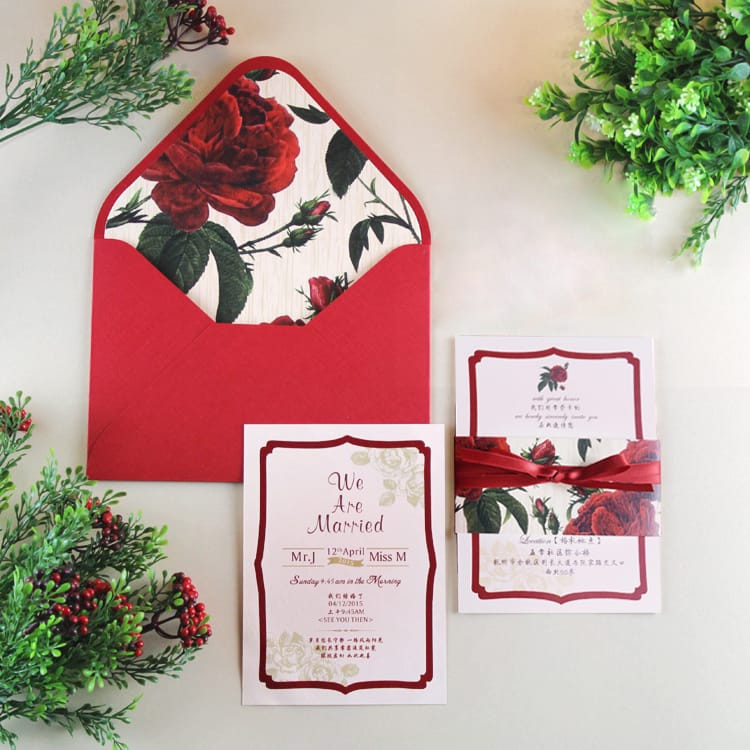
The deep-red rose pattern symbolises the couple's profound love for each other and affection for their guests. Red roses feature on the invitation and inside the envelope, while imported specialty paper gives the card a more distinctive feel.
Product Details
Number of Designs
Design
Price
HK$ 12.00
Minimum order: 50

Product Introduction

Vintage Red Rose Wedding Invitation with a classic, romantic feel

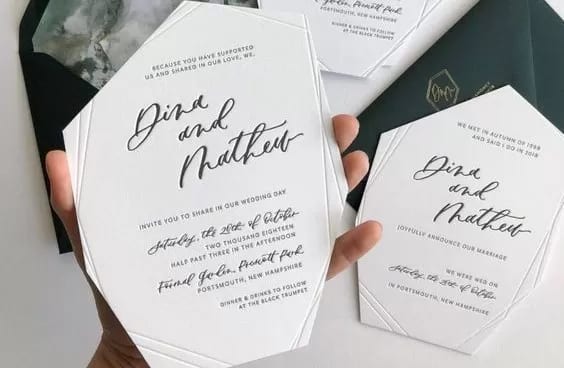
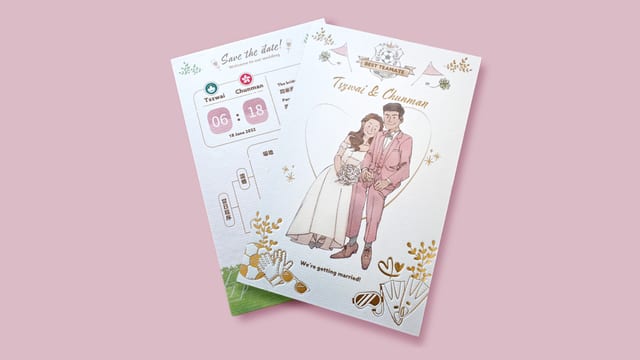
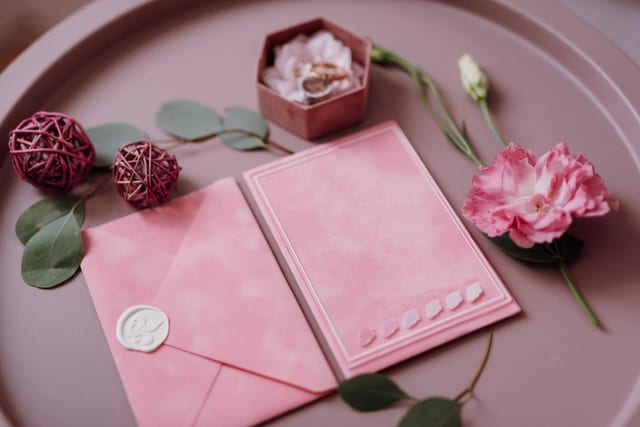
The deep-red rose pattern symbolises the couple's profound love for each other and affection for their guests. Red roses feature not only on the invitation but also inside the envelope. This design further reflects the couple's attention to their wedding, while the imported specialty paper gives the card a more distinctive feel.

Printing Notes:

  • Colours displayed on a screen or printed using a proofing machine other than ours cannot be used as colour samples for printing comparison.
  • Printed artwork not produced by us, or printed samples that have discoloured through oxidation after prolonged storage, cannot be used as colour samples for printing comparison.
  • Colour samples can only be matched for printing on coated paper; they are for reference only when other paper stocks are used.


Other Notes:

  • We are not responsible for proofreading. Before confirming your artwork, please carefully check that all information is accurate and error-free. Once the artwork has been confirmed,
  • it will be printed and delivered as approved by the customer, and the customer will be responsible for any other errors or omissions.
  • If you require other card sizes, quantities or finishing options, please specify them when placing your order.


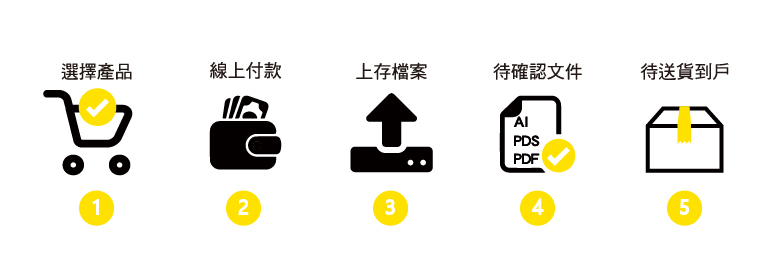
Ordering Process


Artwork Guidelines

Card Artwork Size Setup:

  1. The standard artwork size for a card is 92x56mm, including a 1mm bleed on each side, while the trimmed finished size is 90x54mm. Before exporting, please remove any objects outside the bleed area. There is no need to draw crop marks or registration marks, and the card border must be set to no fill, as shown below:
  2. If no finished-artwork frame is set, the work area/page frame will be treated as the finished size by default. To ensure the correct finished dimensions, you must set the finished-artwork frame yourself.
  3. Keep important text, four-sided border designs and designs with margins on all four sides at least 5mm inside the cutting line as a safe margin. Otherwise, the result may look skewed or have uneven margins after trimming.
  4. Card artwork must include a 1mm bleed on all four sides of the finished size. For example, if the artwork size is 152x102mm, the finished size is 150x100mm and it will be priced as four card positions. If the artwork size is 82x52mm and the finished size is 80x50mm, it will be priced as one card position.

Card Artwork Preparation Notes:

Standard Card Artwork

  1. If you create the card file in Adobe Illustrator (AI), set the artboard to the finished card size and add a 1mm bleed in Document Setup, then centre the content on the artboard. When the artwork is complete, select "Create Outlines", save the file as an AI or PDF, and upload it. Before uploading, please read the notes in File Upload Guidelines.
  2. When preparing card artwork, remember to place the front on the left and the back on the right.
  3. When exporting artwork from AI, save each file separately. Whether it is an AI, PSD or PDF file, there must be one file for each person's name.
  4. When exporting artwork from Photoshop, name separate front and back files for the card bearing each person's name, and compress both files into the same folder. Each card artwork submission will therefore contain two files.
  5. When uploading files, remember to confirm each option and quantity before uploading them in sequence to avoid errors and confusion.
  6. Before confirming your order, check again that the options and quantities for the uploaded files are correct.


Preparing Artwork for Spot UV and Hot Foil-Stamped Cards

  1. Where finishing is required, create black artwork to mark the areas to be finished. Black artwork is accepted only as an AI vector file.
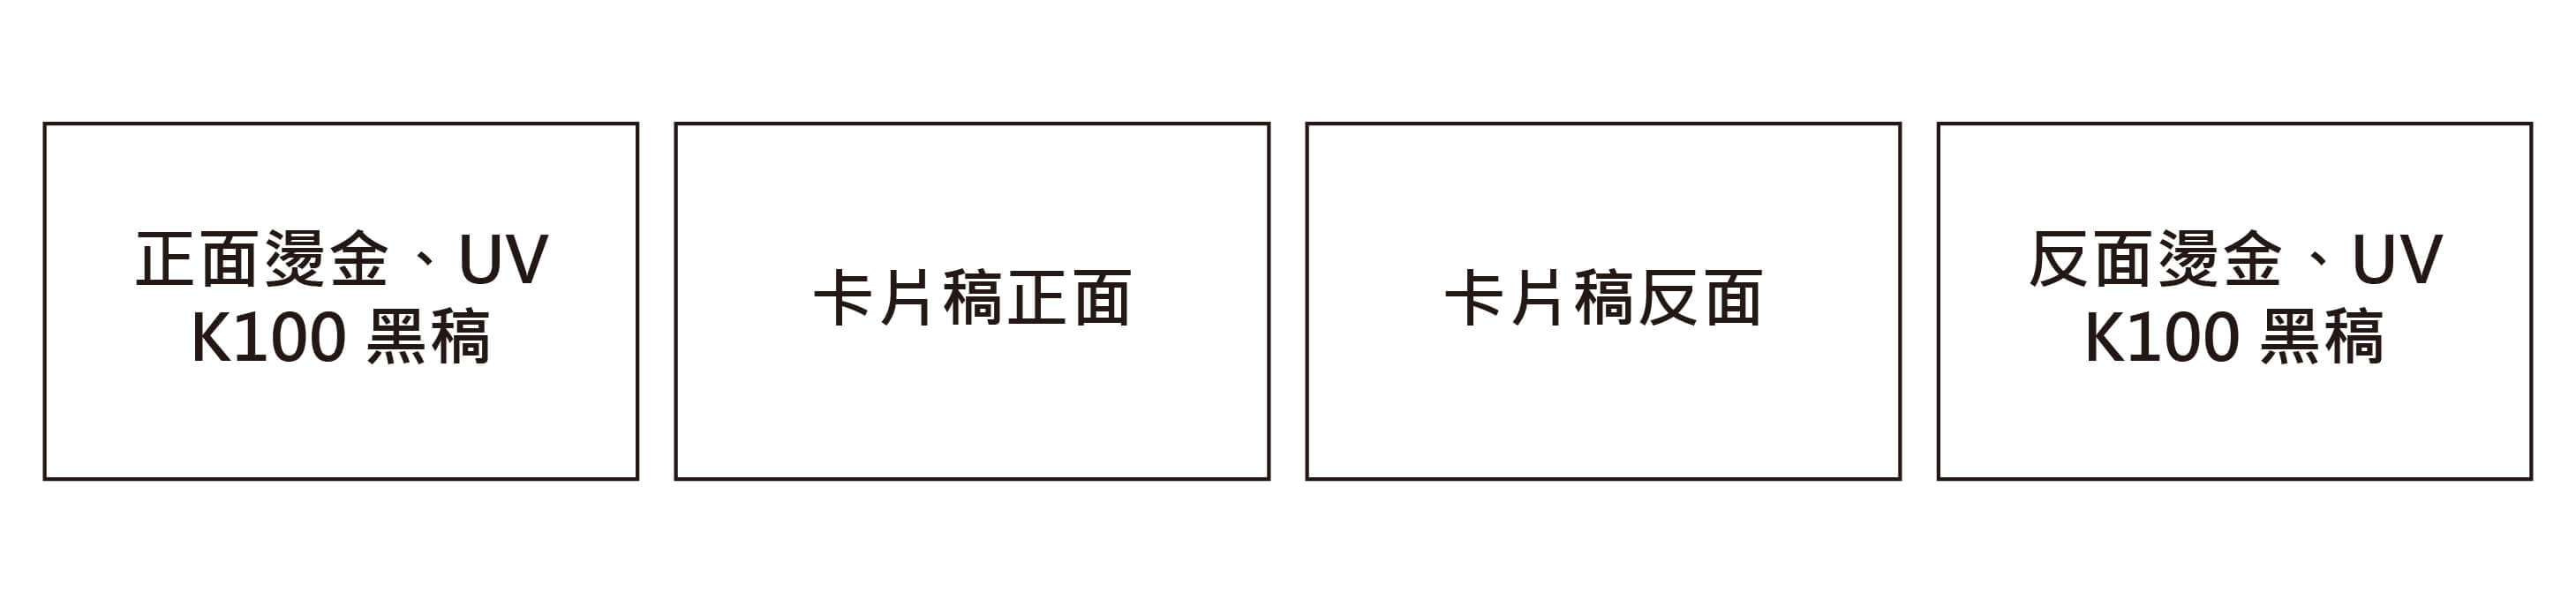
  2. As noted above, place the front of the card on the left and the back on the right. Place the black artwork for spot UV, hot foil stamping or other finishing beside the side to be finished, with the front on the left and the back on the right, as shown:

  3. Areas for post-print finishing such as spot UV and hot foil stamping must be set to K100% black.
  4. Avoid graphics and text that are too small, too fine or overly complex, as the finished result may be unsatisfactory.
  5. Finishing text must be no smaller than 8pt, lines no thinner than 0.6pt (0.2mm), and the distance between two hot foil areas no less than 0.7mm.
  6. Do not place spot UV or hot foil finishing too close to the cutting line or die-cutting area, as pressure from the cutting blade may cause it to peel off.
  7. A positional tolerance of 2~3mm for spot UV finishing is normal. If you want to reduce the visible misalignment, add a 1~2mm stroke when preparing the black artwork.
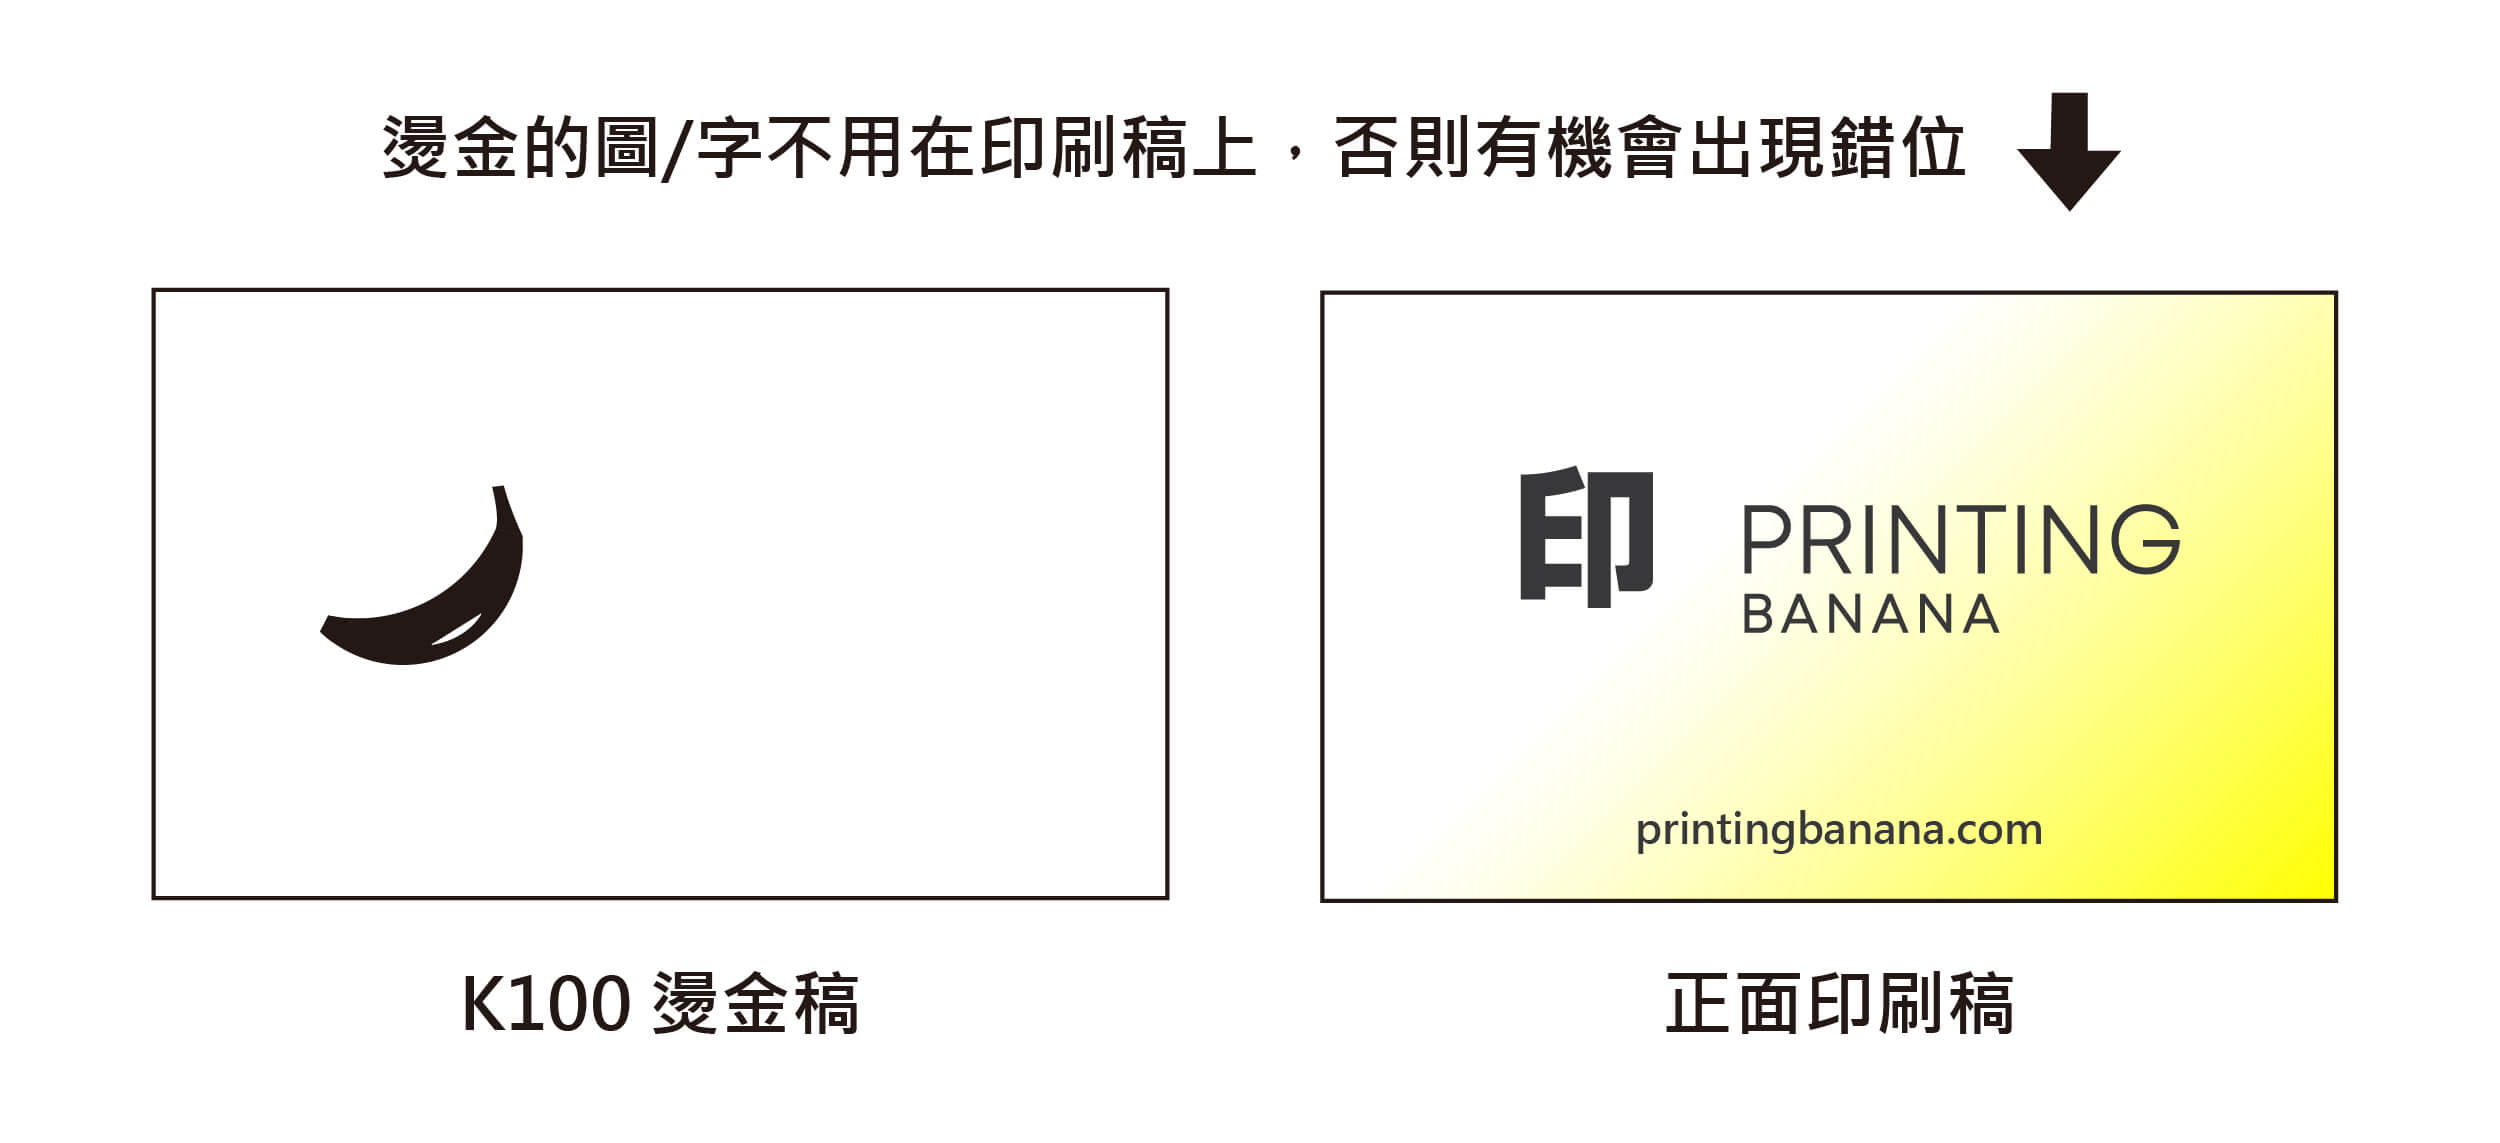
  8. Hot foil stamping has a tolerance of 0.5~1mm. To avoid misalignment between the foil position and text or images on the printed side, do not include the parts to be foiled in the printed artwork, as shown:

🎨

Use CMYK

Create your artwork in CMYK colour mode and at the correct dimensions

🔍

Ensure image clarity

All images should look sharp at 100%, at a minimum of 300dpi or above

🄰

Create outlines

Convert all text to outlines and embed all images or linked objects

💾

Save your file

We accept PDF, AI and PSD source files; for special finishes we accept AI only

Looking for professional graphic design? 🎨

From posters and backdrops to booklets, we do it all! Let our professional design team craft eye-catching print work for you.
🖼️ Poster design | Exhibition backdrops | Promotional booklets
🎯 Professional print follow-up to ensure design fidelity
One-stop service: from design to print, all handled for you
Discount on your first order!

FAQ

More great content