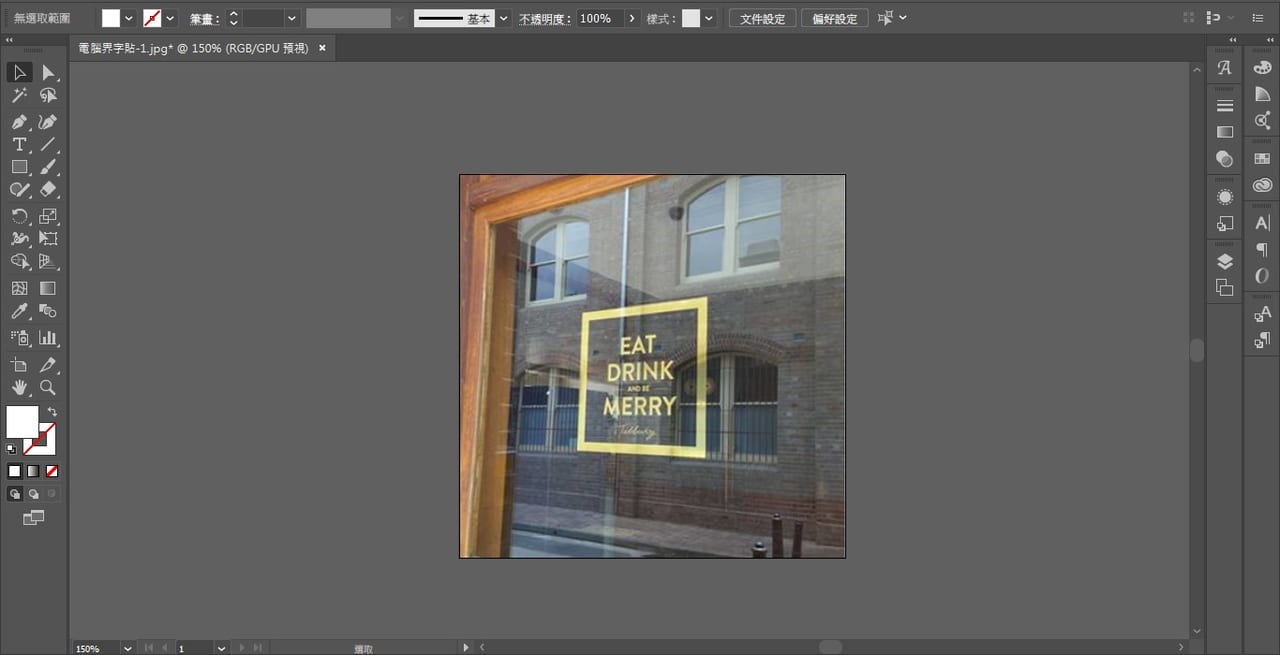
Every Printing Banana order comes with a free proof-check, handled by a real person on our team, that catches more than 20 of the technical problems that trip up print files. And unlike most online printers, we'll also show you how to get it right yourself. Follow the simple steps below to make your artwork print-ready and avoid nasty surprises once it's on press.
1) Set your file to CMYK
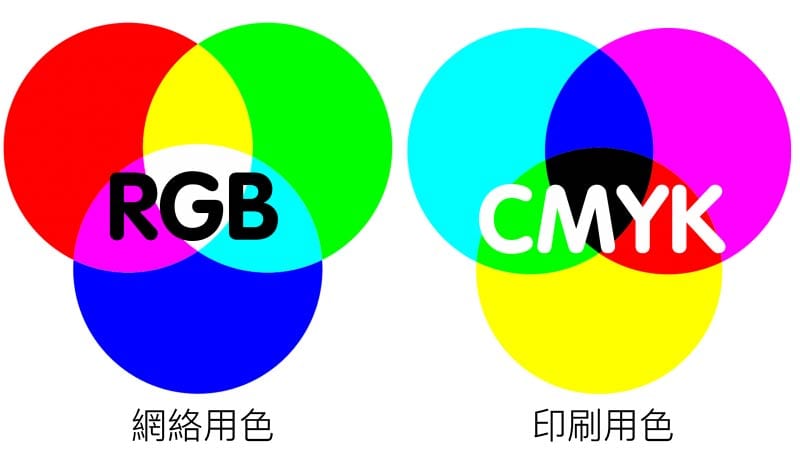
The wrong colour mode is the quickest way to end up with a print that looks nothing like what you saw on screen. If your file is left in RGB, the press has to force-convert it to CMYK during printing, and that shift changes your colour values — the finished piece often comes out looking off. So the rule is simple: every file you send to print should be in CMYK. Most design software defaults to RGB, so always confirm the colour mode before you export.
Here's where to check and set it in three popular programs:
Photoshop: Image > Mode > CMYK Color
Illustrator: File > Document Color Mode > CMYK Color
InDesign: Window > Color
2) Vector or raster?

Vector graphics stay sharp at any size — scale them up as large as you like and the edges never break apart. Photos, on the other hand, are raster images (typically PNG files): enlarge them too far, or start from a low-resolution file, and you'll start to see the pixels. If you're placing a photo in a print file, make sure it's at least 300 DPI. Anything below that and the little pixel squares become obvious once the image is embedded. As long as the image quality is high enough, this won't be a problem.
On the software side, Adobe InDesign and Adobe Illustrator handle vectors best, and both can export directly with bleed. Photoshop is your main tool for editing images — retouch your photos in PS first, then bring them into Illustrator to lay out and design — but make sure everything is output at 300 DPI or higher.
3) Understand the bleed
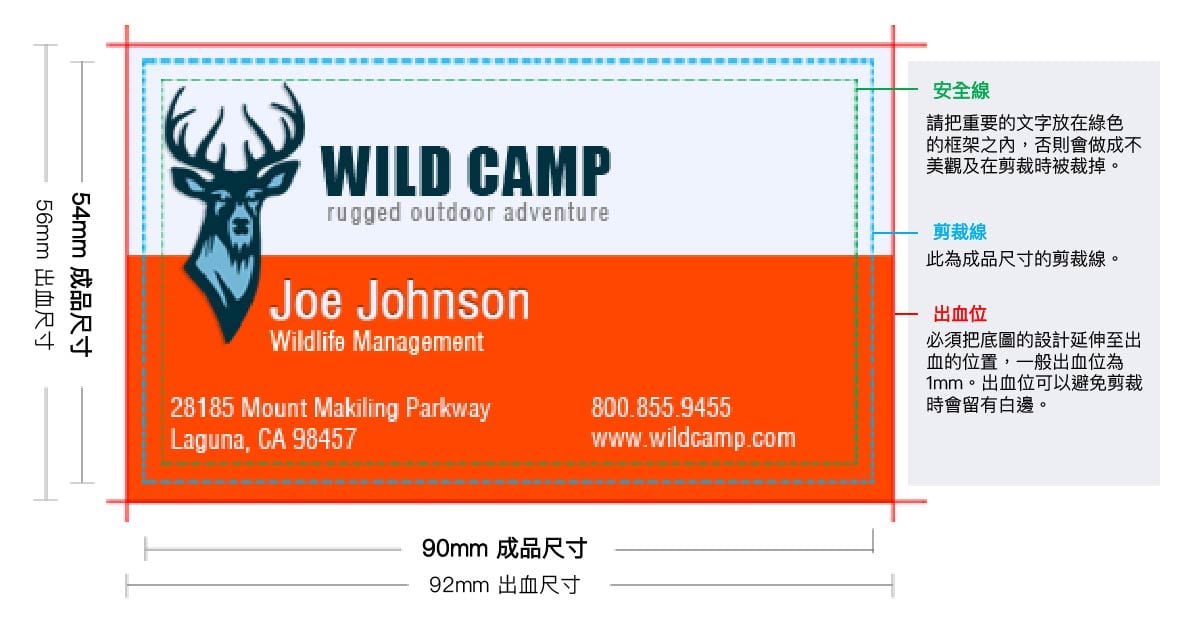
Bleed is an essential part of any print file — it's the strip that gets trimmed away after printing. As you design, extend your background colour or artwork past the finished size and into the bleed area; running a little beyond the bleed line is even better. This gives you a clean, professional edge after cutting, because the bleed keeps your design intact right to the edge of the business card (or whatever you're printing) once it's been trimmed. If your product has a white background, there's no need to add a white bleed on purpose. Many products on Printing Banana come with a free print template, and we recommend downloading it before you start designing.
Running into trouble with bleed? Don't worry — have a read of the article below on setting it up, and remember that our free file-check service includes a bleed check too.
Further reading: Print basics: a closer look at bleed, plus a step-by-step setup guide
4) Export in the right format
For the best possible print, we strongly recommend supplying an Adobe Illustrator file.
The formats below should only be a second choice — and it's best to send them to a Printing Banana specialist first, so we can confirm they're suitable for print:
- JPG
- PNG
- TIF
- EPS
- PS
Not sure your file is ready? Send it over and we'll check it for free — the same 20-plus technical checks, no charge. We deliver across Hong Kong and Macau, and you can WhatsApp us any time at +852 3001 5678 (English is fine).