Beyond imposition, one of the most tedious jobs in any print shop's prepress department is adding bleed to files that arrived without it. No matter how many times we remind designers to build in bleed, files still land on our desk with none — because too many designers never got into the habit. You, reading this, are the exception: you love design and you already know how much prepress knowledge matters. If you're still not sure how to set up bleed yourself, take a moment with Print Basics: A Close Look at File Bleed, with a Setup Tutorial.
So here's the real question: when a design file shows up with no bleed at all, how does a print shop actually solve it?
Below are the two methods we use to add bleed — a peek behind the curtain at how print shops do it.
Method 1: When no important artwork gets trimmed
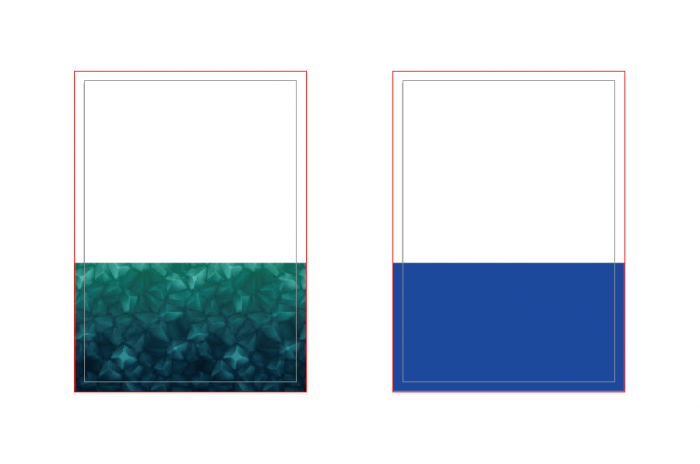
If enlarging the background won't push any important content — text, images, patterns, or colour blocks — past the trim line, the print shop simply scales the background outward to create the bleed. This usually works when the file the client supplies is a layered AI or PSD, where the colour blocks, images, and text sit on separate layers and the background can be stretched on its own.
Figure 1: Two background designs submitted without bleed.
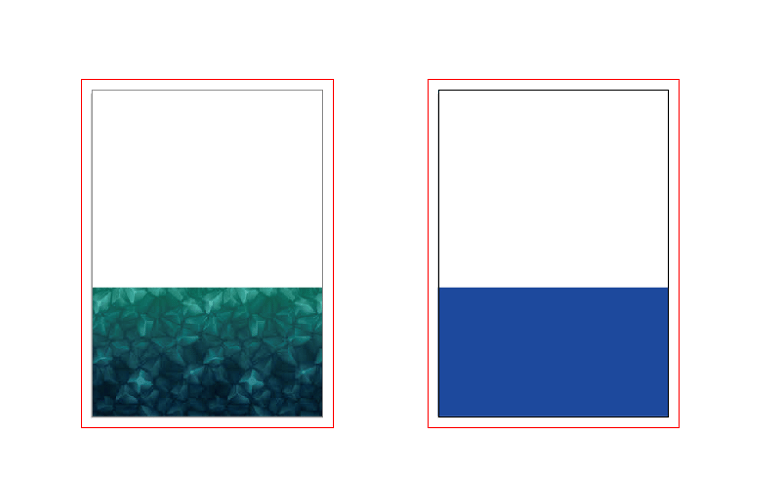
Figure 2: The three edge sections pulled outward by 3 mm.
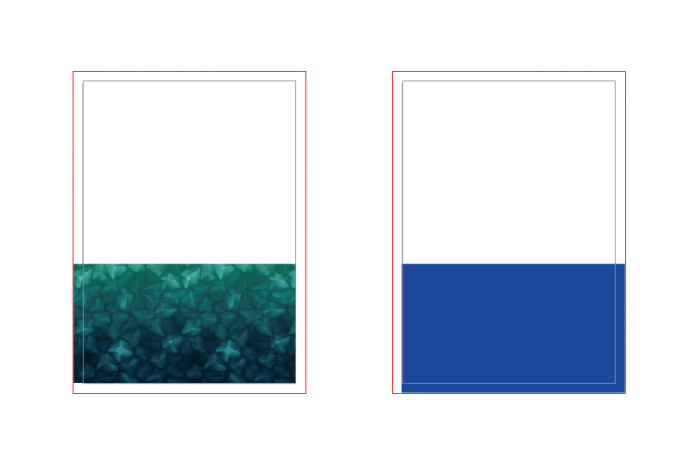
Figure 3: The finished bleed.
Method 2: When images or text sit too close to the edge
What happens when the client supplies a flat, non-editable image with text and graphics running right up to the edge? How does the print shop add bleed then?
Figure 4: Take the image below as an example — a single flattened picture or PSD with no separable layers.
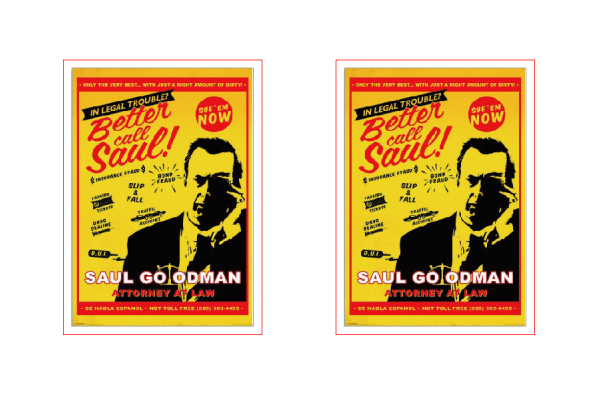
Figure 5: If we apply Method 1 and simply stretch the whole image outward, you can see the important text now falls outside the trim line — or sits dangerously close to it. Neither is acceptable.
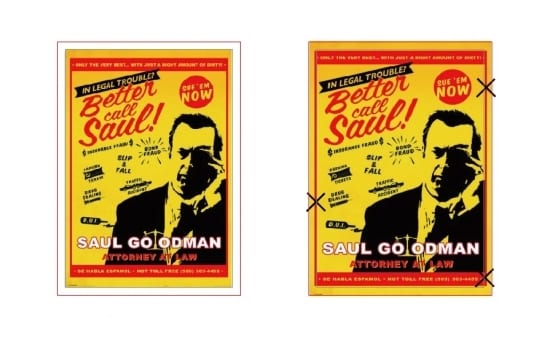
Figure 6: Since that approach fails, we switch to a different technique:
- Duplicate the image, then use a mask to isolate the far-right edge — a strip that holds no important content and won't distort easily when stretched. Widen that strip out to 3 mm to create the bleed. Repeat the same on the left edge.
- With left and right bleed in place, merge all the layers and rasterise, so it becomes one complete image again.
- Apply the same treatment to the top and bottom edges.
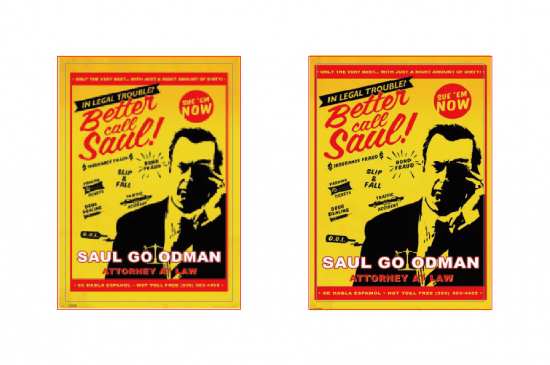
Figure 7: Bleed complete. The version on the right passes; the one on the left does not.
The takeaway
Look closely, though, and you'll spot several compromises:
The image proportions shift;
The image stretches and distorts;
Some content risks being trimmed away.
That's exactly why we recommend planning your bleed from the very start of the design. For bleed setup, see Print Basics: A Close Look at File Bleed, with a Setup Tutorial.
And if you'd rather not risk it, send your file to our prepress team on WhatsApp at +852 3001 5678 (English is fine) before you print — we'll flag any bleed issues first, and we deliver across Hong Kong and Macau.