Foil stamping is the finish designers reach for first — it's bold, it's unmistakable, and foil comes in enough colours to suit almost any design. But it also has firm limits, and if your artwork ignores them the result can disappoint. Here's what hot foil stamping can and can't do, and how to prepare a clean artwork file that stamps sharply.
Foil is one of the most common finishes we run, yet not everyone knows where its limits are. This guide walks through those limits and what the finished pieces actually look like, then shows how to set up a clear, foil-ready artwork file.
The limits of foil stamping
Foil has more constraints than most finishes, and it's fussy about line work — miss the conditions and the finished result falls well short. Foil stamping presses foil onto paper through a heated die, so a good result depends on the die, the foil, the stock and the stamping pressure all working together. For the full process, see How foil stamping actually works: the press process from start to finish.
Before you specify a foil finish, keep these points in mind:
- Foil can't produce gradients or anything semi-transparent.
- Shapes and text can't be too small, too fine, or too intricate, or the finish suffers.
- A 1–2mm registration shift on the foil position is normal and within tolerance.
Design to those conditions and your foil should come out fine — but they leave a designer guessing at exactly how small is too small. From our own experience, these working figures are a safe place to start:
- Keep type above 8pt; for anything under 10pt, use a bold or sans-serif face.
- Foil lines should be 0.2mm thick or more.
- Reversed-out (knockout) foil should be 0.3mm or more.
Sometimes we run more than one finish on the same piece — two foil colours, foil plus spot UV, foil plus embossing. Whether it's two foils or foil paired with another process, the two finished areas must sit at least 2mm apart, because each pass carries that 1–2mm shift and every finish moves a little differently. If two areas are closer than 2mm, they can overlap.
For our part, whenever a job calls for register foiling — foil laid precisely over print — we take extra care to keep that shift to a minimum.
What foil finishes look like
Here are a few foil jobs with different finish combinations, along with a quick note on what makes each one work.
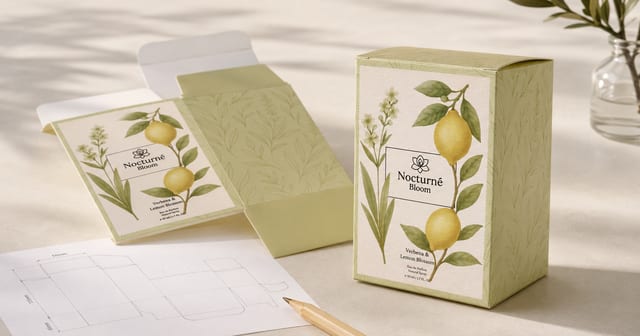
Foil + laser cut-out — lai see (red packet) envelope

- The lantern motif is quite detailed, and some of the finer detail doesn't come through fully.
- The two finishes sit far enough apart.
- The laser cut and the foil are offset by about 1mm — a reasonable tolerance.
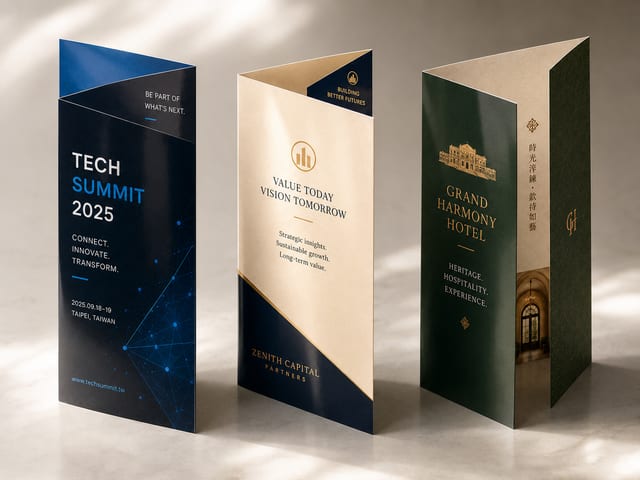
Antique bronze foil on black card

- The Chinese characters are too small and their strokes too intricate, so the finished piece is hard to read.
- At roughly the same size, the English type holds up far better.
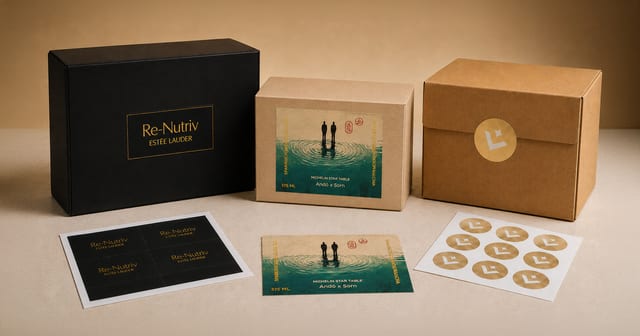
Emboss + register foil on cotton card

- The trickiest part is registering the foil to the printed artwork — it really tests the operator's skill, and the yield is lower.
- For finishes this complex, talk to your printer beforehand so you can agree on the result you want.
Preparing foil artwork, step by step
The first thing to know: foil artwork must be vector, because the operator builds the foil die from vector paths. A raster image alone makes a clean die much harder — the image may not be crisp enough — so vector artwork is what guarantees a sharp foil. We'll build the artwork in Adobe Illustrator.
Start with your design file — we'll use a card as the example. Before you begin the foil layer, check the card itself is sound: bleed, outlined fonts, embedded images, and so on.
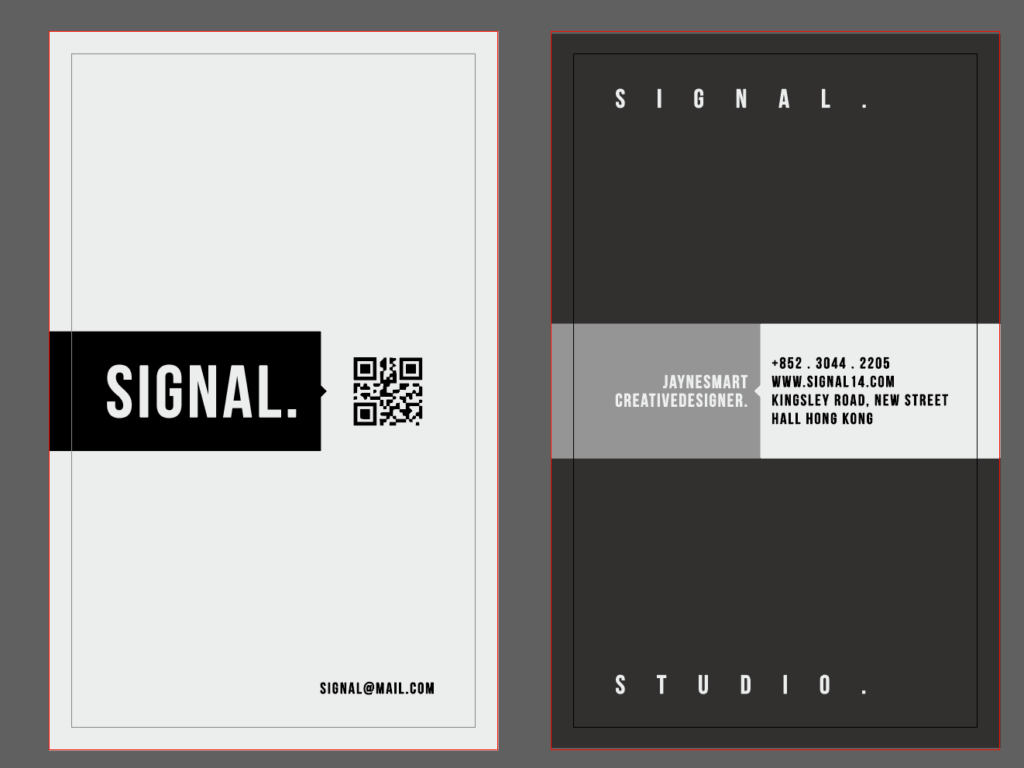
Once the file checks out, select the area to be foiled. On this card we're foiling the SIGNAL block on the left, so we create a new artboard to mark exactly where the finish goes, as below:
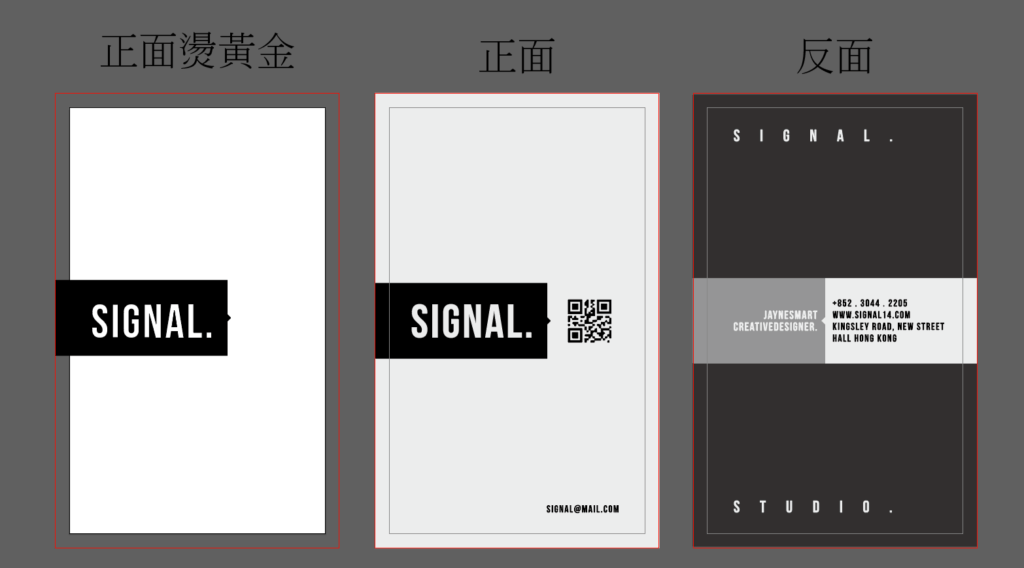
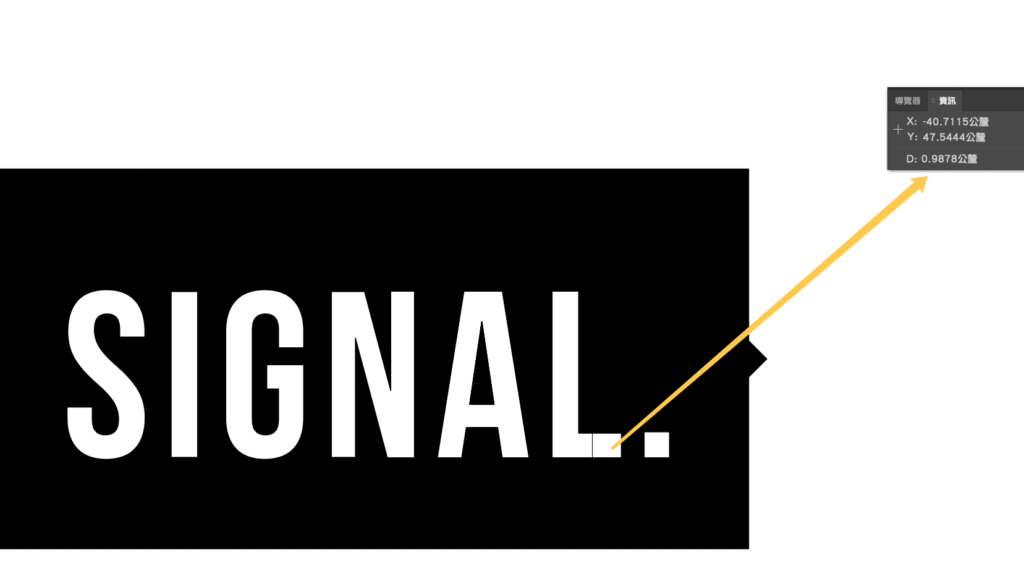
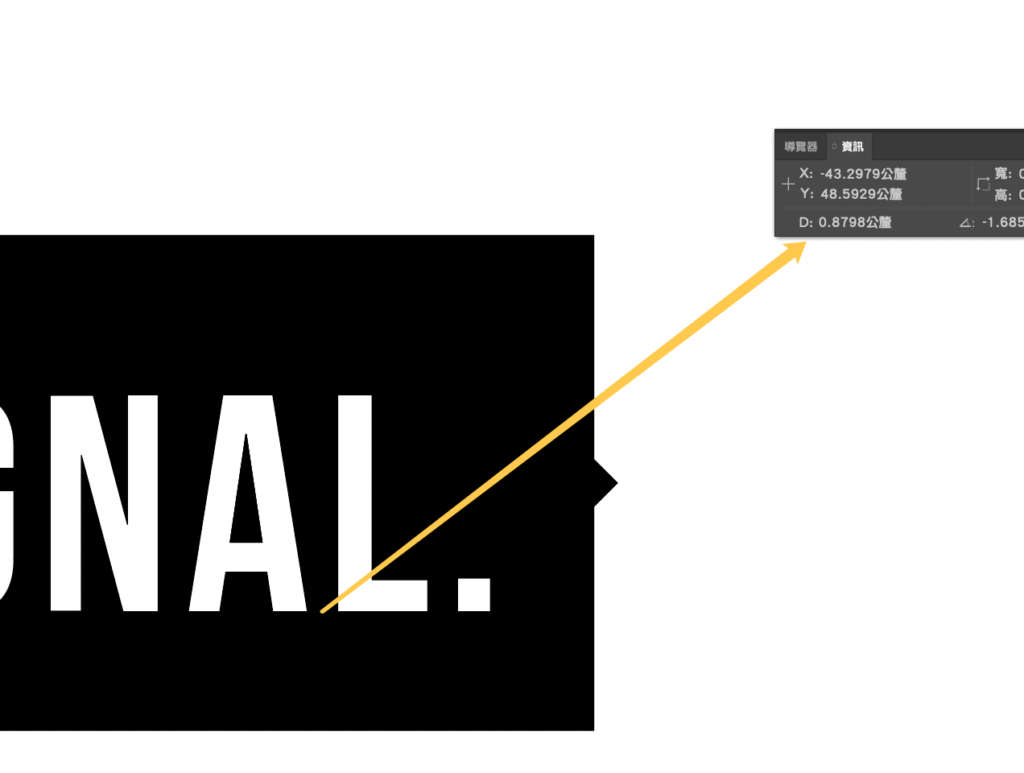
With the area chosen, check that the knockouts in "SIGNAL." meet the rules above. As the image shows, the two knockout gaps measure 0.8mm and 0.7mm — both above the minimum — so they're fine to foil.
Understand foil stamping and the result only gets better
Foil really is an easy finish to pair — whatever the stock, the design, or the product, a touch of foil lifts a printed piece to another level. But it isn't trivial, and a clean result depends on the conditions above, so it's worth going back over them more than once. If anything is unclear, just ask — we deliver across Hong Kong and Macau, and you can WhatsApp us any time at +852 3001 5678 (English is fine).