Your printer just asked you to add a bleed, but all you have is a single JPG or PNG — no editable design file. It happens constantly: for one reason or another, the company only kept a flat image, and in our experience most image files carry no bleed at all. This guide shows you how to build a bleed out of a plain image, and how to check first whether that image is even fit to print.
Is the image sharp and complete enough to print?
The first thing to do before print is check the image's resolution — is it sharp enough for the job? Is the content complete, with nothing missing or cut off at the edges? For print, an image needs to reach at least 300 DPI at its final print size. If it falls below 300 DPI, the finished piece will come out blurry.
How to check
- Check it in Adobe Illustrator (AI): drop the file straight into Illustrator, scale it down to the exact size you need to print, then read off the image's DPI. If Illustrator shows 300 DPI or higher at print size, the image is fit for print.
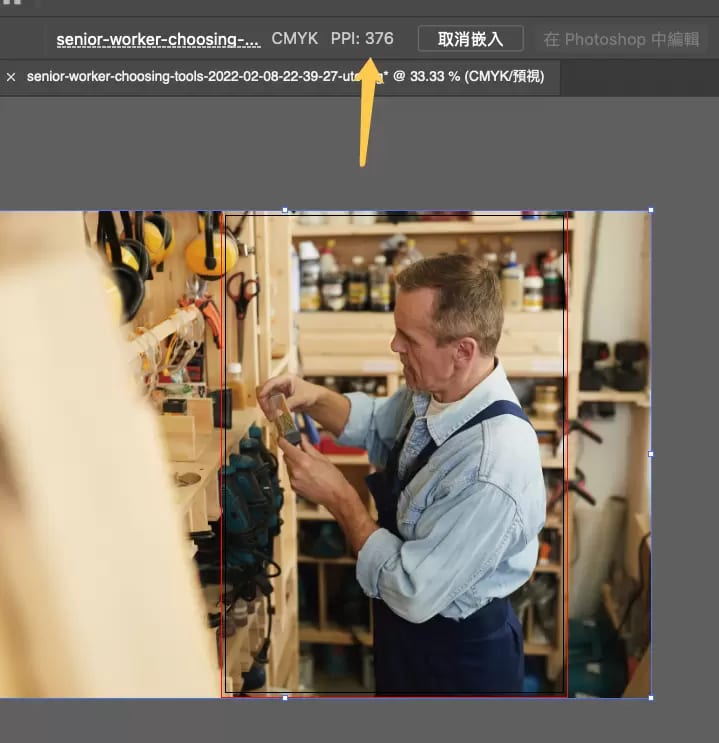
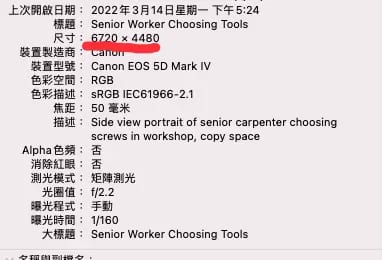
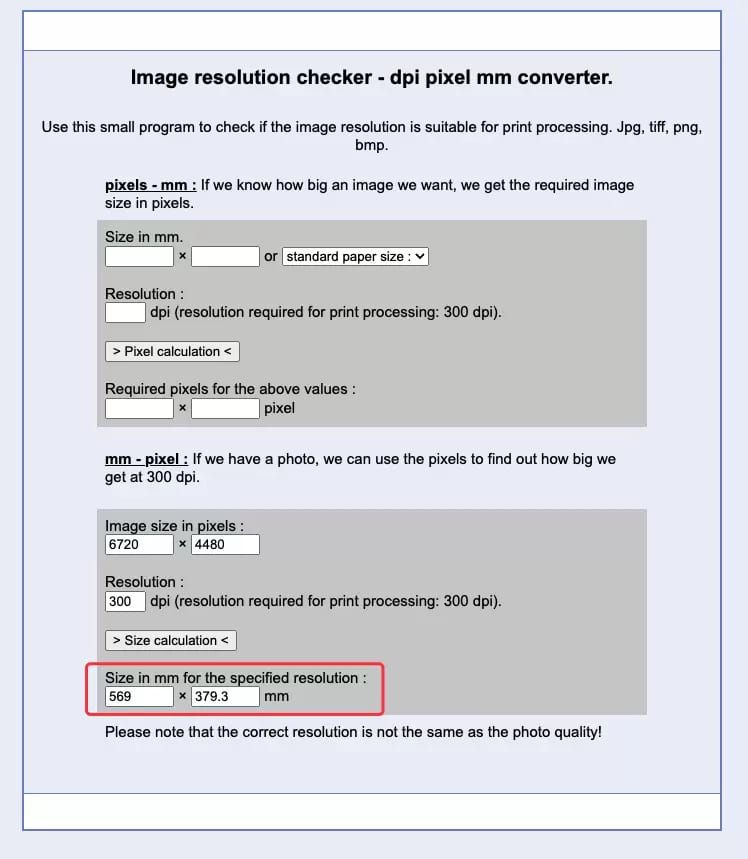
- Check the pixel dimensions: you can read the image's pixel dimensions under File properties (Windows) / Get Info (Mac) — the unit is px. With the pixel count in hand, run it through the Image resolution checker – dpi pixel mm converter to see whether the image is sharp enough. For example, an image of 6720×4480 px at the required 300 DPI works out, according to the site, to a maximum print size of 569×379.3 mm.
Tool: https://presspdf.com/en/dpi-pixel-mm-converting
Building a bleed in Adobe Illustrator
The simple stretch
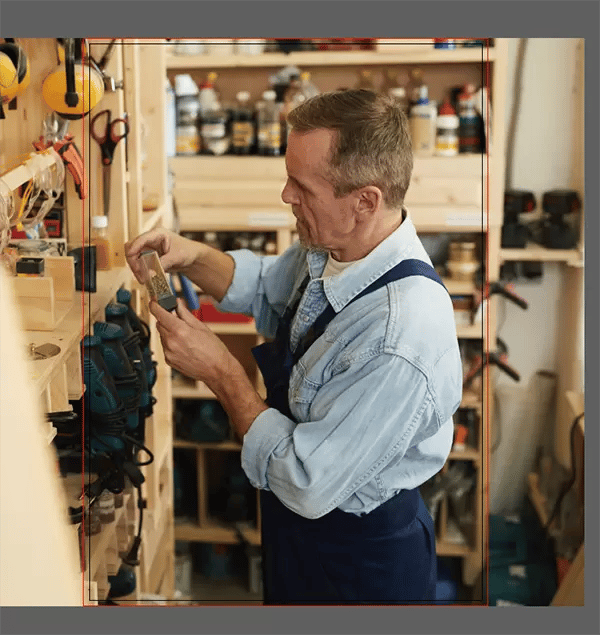
The bluntest method is to enlarge the image straight out to the bleed line. Just be sure to scale it proportionally, or the image will distort — and double-check it is still 300 DPI or higher once enlarged. Say we need to print a 210x297mm poster: we can scale the height/width up to 303mm / 297mm, making sure the bleed is covered on all four sides, as shown below. The catch is that this throws off your layout.
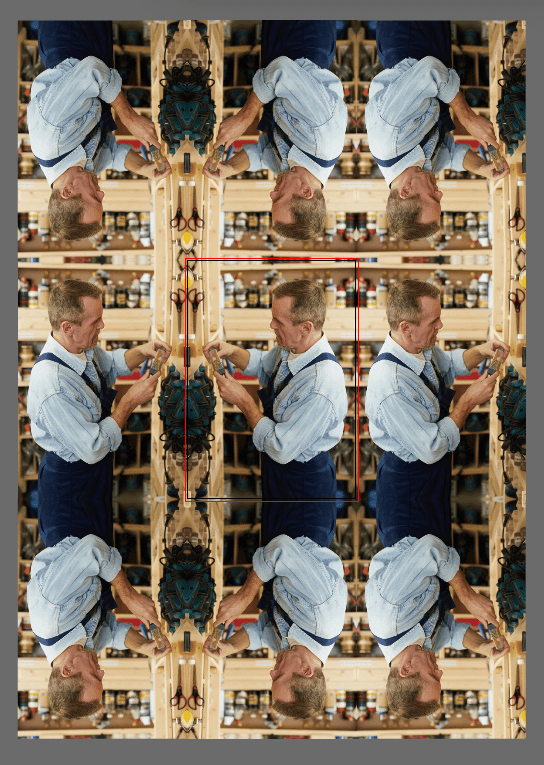
Mirror the edges
Because the simple stretch throws off your layout and looks less polished — and can even crop out something important — you can instead use mirroring to build a cleaner bleed. Then finish by trimming down to the exact size you need with a clipping mask.
Building a bleed in Canva
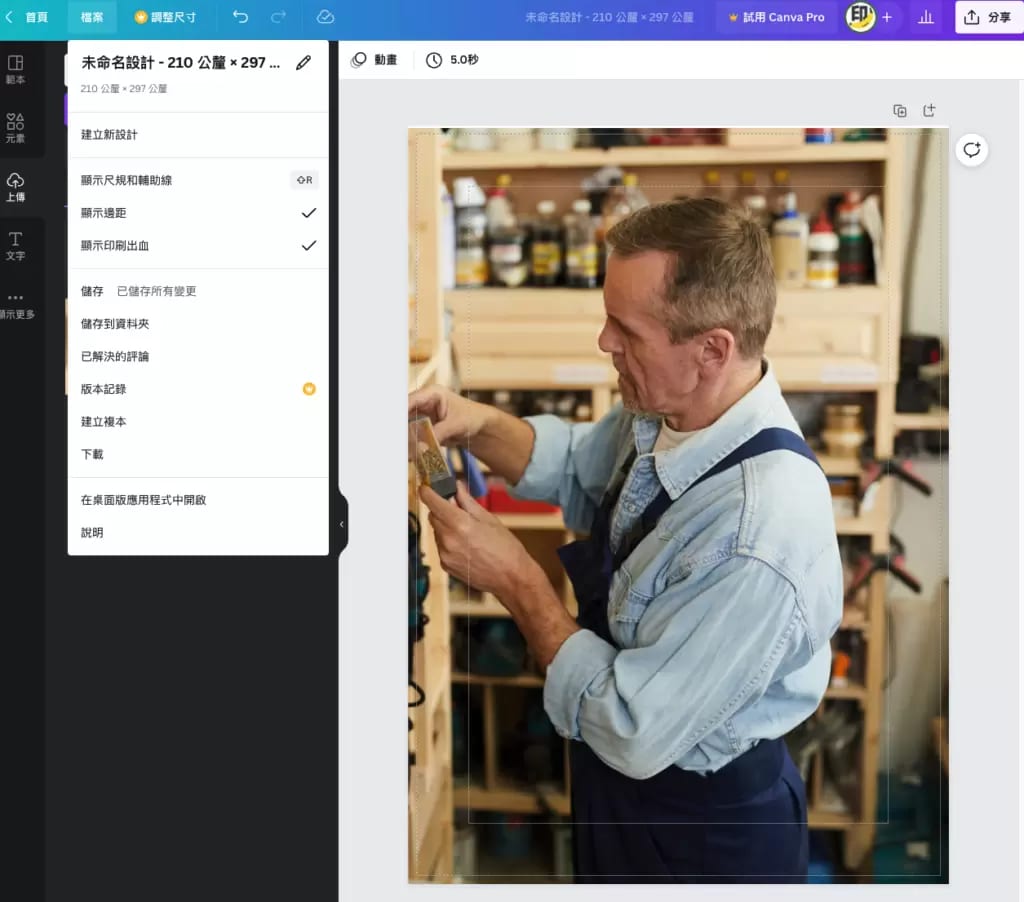
We know not everyone owns pro software like Illustrator, so you can use the online design tool Canva to produce a print-ready file with bleed. The trick is much the same as in Illustrator: pull the image straight out to the bleed line. Canva has no mirror function, though, so stretching the image to the bleed is your only option here. If Canva rolls out more tools later, we'll share them.
For how to set up bleed in Canva, see Design It Yourself: Building a Print-Ready File with Online Tools — the steps are much the same, and clever as you are, you'll pick it up in no time.
Is bleed really that important?
Is a bleed truly necessary? Even building one out of an image takes a few minutes to sort out — is it really worth the trouble? Yes. Bleed is critical for print. Without it, the cutting machine leaves a white sliver along the edge whenever the cut drifts even slightly off. A finished piece with a white edge is hard to accept, so the bleed has to be handled before anything goes to press. To dig deeper into bleed, read Setting Up Print Bleed Is Easy: A Simple Guide Across Several Programs.
Still not sure your file is print-ready? Send it over to our team on WhatsApp at +852 3001 5678 (English is fine) and we'll check the bleed and resolution before it goes to press — with delivery across Hong Kong and Macau.