If you work in advertising or design, you have almost certainly been handed a photo that simply would not hold up in print. Image quality can make or break a printed piece — picture receiving a supermarket flyer so pixelated you cannot even tell what vegetables are on it. Would you still feel like shopping? A good image matters more than most people realise. Below, Printing Banana shows you how to quickly work out the largest size an image can be printed at — and, if a picture simply has too few pixels and there is no replacement, how to enlarge a small image without it falling apart.
1. How to work out an image's maximum print size
Step 1: First, understand DPI, pixels, and PPI
DPI stands for dots per inch — the number of dots that can be sampled, displayed, or output within a single inch. DPI is controlled by the printing machine and governs how fine the finished print is: the higher the DPI, the more dots packed into every inch, and the sharper the result. When a printer runs, it sprays dots of ink onto the paper, so a higher-DPI machine can reproduce finer detail. A digital image, on the other hand, is made up of countless tiny squares called pixels, and the number of pixels per inch is its PPI. The more of those little squares an image contains, the sharper it looks, and the colour and position of each square shift depending on the PPI.
Step 2: Use the pixel dimensions to find the printable size
For print, files are normally output at 300 DPI. Simply divide the image's pixel width and height each by 300 DPI to get the print size in inches, and because one inch equals 2.54 cm, multiply that figure by 2.54 to get the print size in centimetres. That tells you exactly how large the image can be printed at 300 DPI.
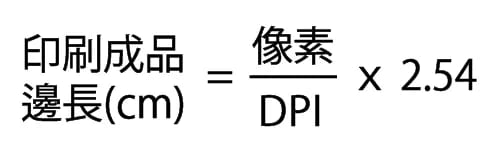
Step 3: Check your image's pixel dimensions
Finding an image's pixel dimensions is easy. On Windows, right-click the file you want to use, choose Properties, then open the "Details" tab to read the pixel dimensions. On a Mac, select the thumbnail, press Cmd + I to open the Info window, and read the pixel dimensions under "More Info". Once you know the pixels, the printable size follows immediately — for example, 540 pixels gives a maximum finished size of 4.572 cm.
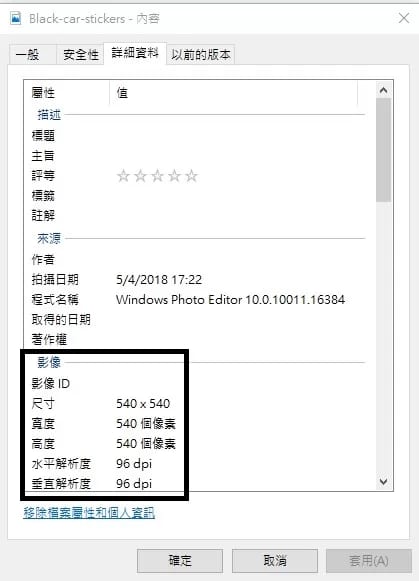
Once you know the maximum printable size, you can judge whether the image really suits your design. Our tip: if the calculation gives a finished size of, say, 10 cm, keep the actual print size within 8 cm to protect print quality — otherwise the result can come out looking off. And if the calculated size is smaller than what you actually need to print, forcing it through anyway will leave the finished piece looking soft, or even visibly pixelated.
2. Enlarging a small image without losing quality
The old way to upscale
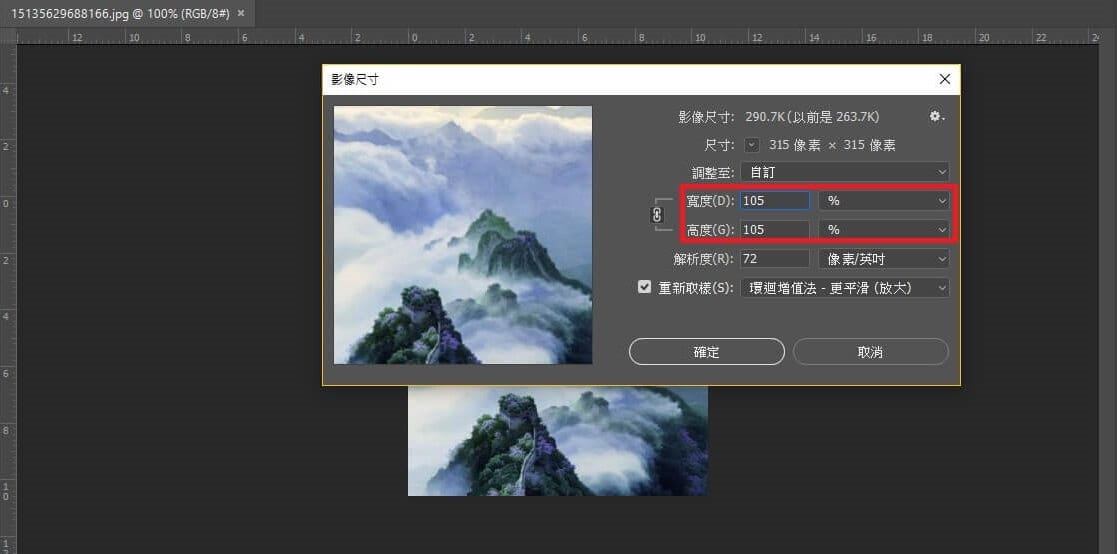
Plenty of printers and designers still cling to myths about how to enlarge a small image without distortion. The most common one: they receive a 72 DPI image, go straight into Photoshop's "Image Size" dialog, change the DPI field to 300, and assume they now have the correct output size. But at the same resolution, no matter how you adjust the DPI, the printed size and level of detail stay exactly the same. As noted above, DPI simply refers to how many dots sit in a given area; raising the DPI only adds ink dots within each cell — the number of pixels (the cells themselves) does not change, and the image gets no clearer.
Other designers reach for Photoshop's "Bicubic Smoother (enlargement)" and scale the photo up in slow, painstaking steps — a real time sink, and the result is rarely satisfying. Image software like PS can only reference the surrounding pixels when it enlarges; it cannot add information, so anything scaled up ends up looking rough.
A newer way to upscale
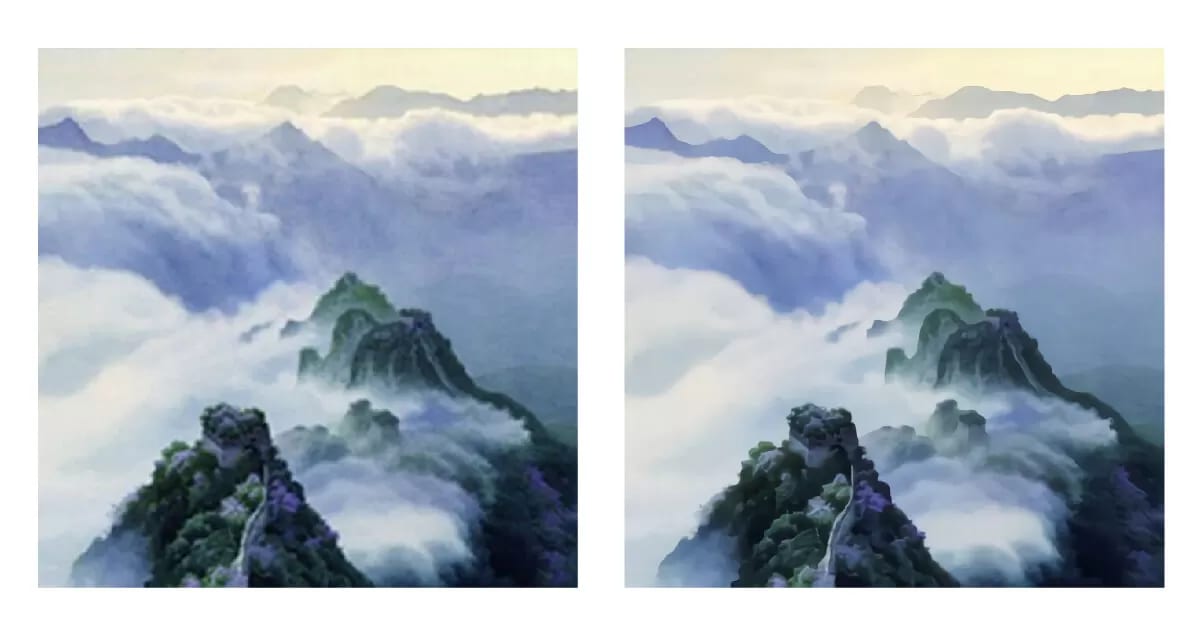
Here is a newer image-processing website worth knowing: "Let's Enhance". Let's Enhance boosts an image's pixel count, restoring its original resolution and sharpness and filling back in detail that had been lost, so the picture can be enlarged without falling apart. The technique is similar to Adobe SceneStitch, which adds content to images: both use neural-network computation to first let the computer interpret what is in the photo, then automatically add fitting textures and materials — enriching the photo's quality and overall effect.

(Original)
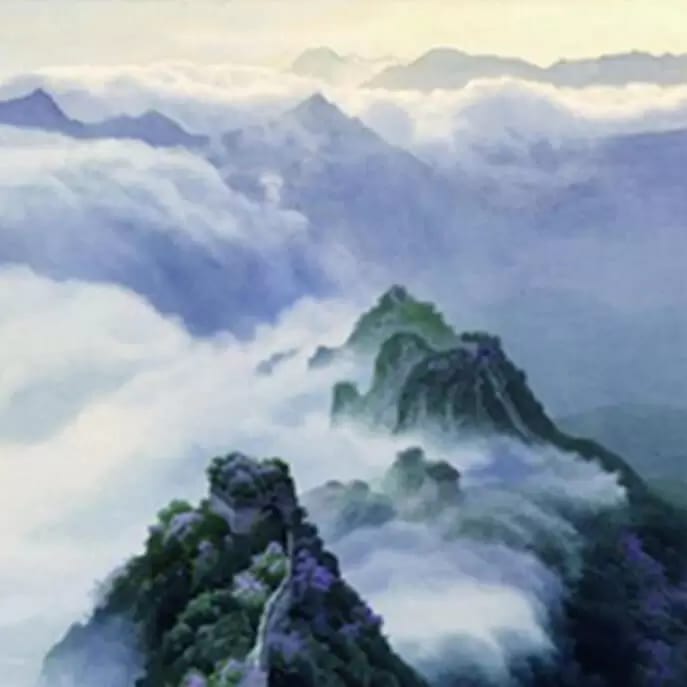
(Photoshop)
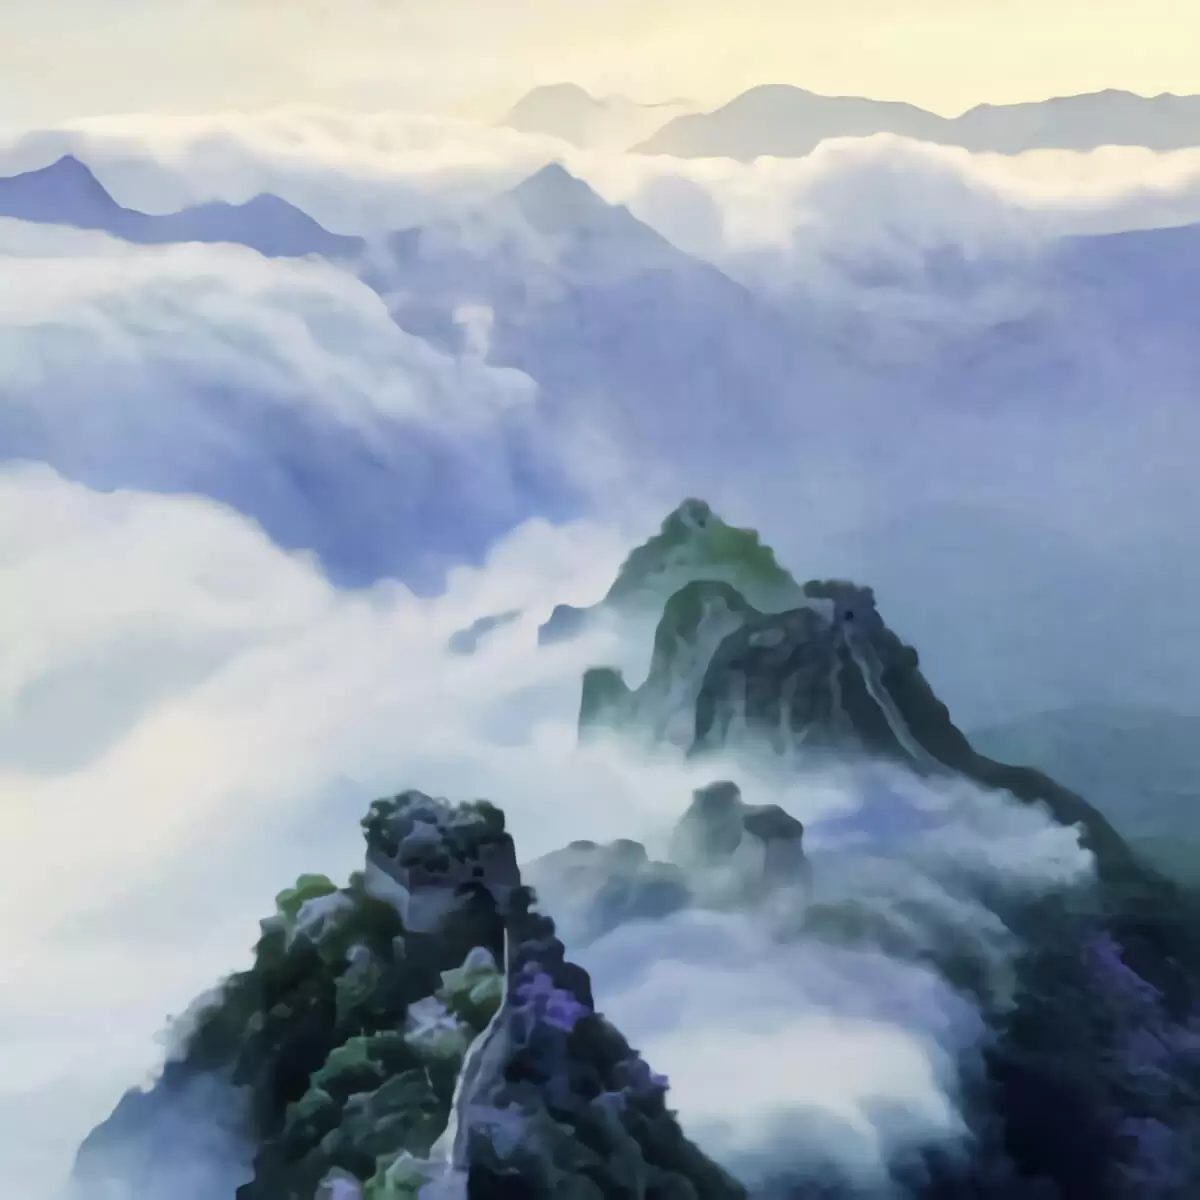
(Let's Enhance)
That said, extremely fine images can lose some of their delicate detail when upscaled by AI, so Printing Banana still recommends tracking down a suitably large original file wherever possible — the result will always be better. But when there is genuinely no other option, Let's Enhance is an excellent choice.
Let's Enhance: https://letsenhance.io
Do paper prints and inkjet banners all need 300 DPI?
For everyday paper printing — promotional posters, brochures, packaging, flyers and the like — 300 DPI is already more than enough for a high-quality, high-clarity result. Use a 72 DPI image for a poster and it will look fine on screen, but the finished print will be badly pixelated: at 72 DPI the dots are simply too sparse to reproduce the fine detail in the poster.
For pieces viewed from a distance — banners, retractable banner stands and light-box films — 150 DPI will do, and for larger outdoor advertising you can drop to 50 DPI. Because large-format signage is seen from far away, the difference between high and low DPI is barely visible — and when there is little difference, the cheaper, lower-DPI option is naturally the sensible one.
Not sure whether your image has enough resolution to print at the size you need? Send it over and we will check it for you — WhatsApp us at +852 3001 5678 (English is fine), with delivery across Hong Kong and Macau.