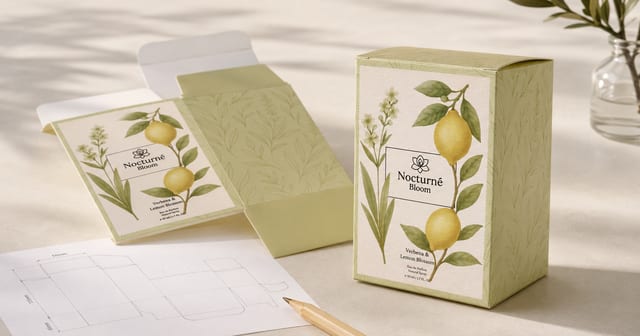
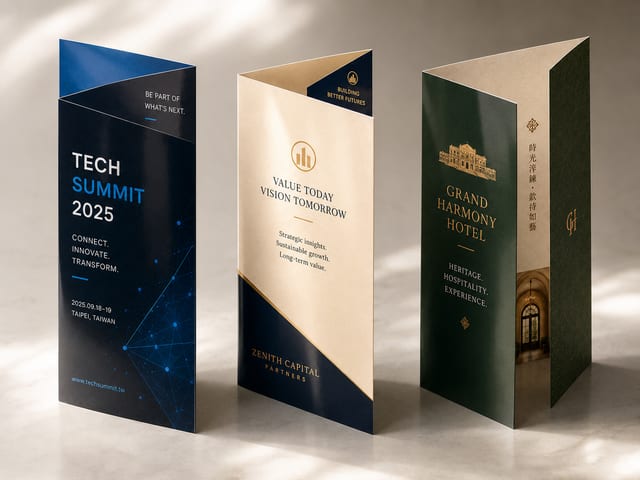
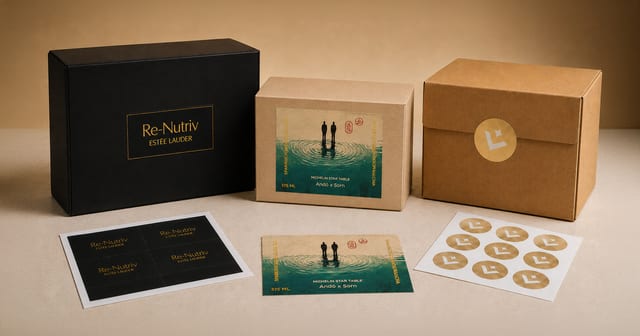
Die cutting, put simply, means cutting a printed piece into a shape that isn't an ordinary right-angled rectangle. Round stickers, product-shaped stickers, irregular hang tags, handheld event props, photo-op boards, display-board outlines — anything that isn't a plain straight-line cut usually involves custom-shape cutting, a cutting die or some special cutting arrangement.
That said, die cutting doesn't mean "any shape you can draw will come out perfectly." It affects cost, how you supply your artwork, edge safe margins, shape detail, production time and how well the finished piece holds up. Understanding the logic of custom-shape cutting before you design is far safer than reworking your cut line after you've already sent the file.
How is die cutting different from a straight cut?
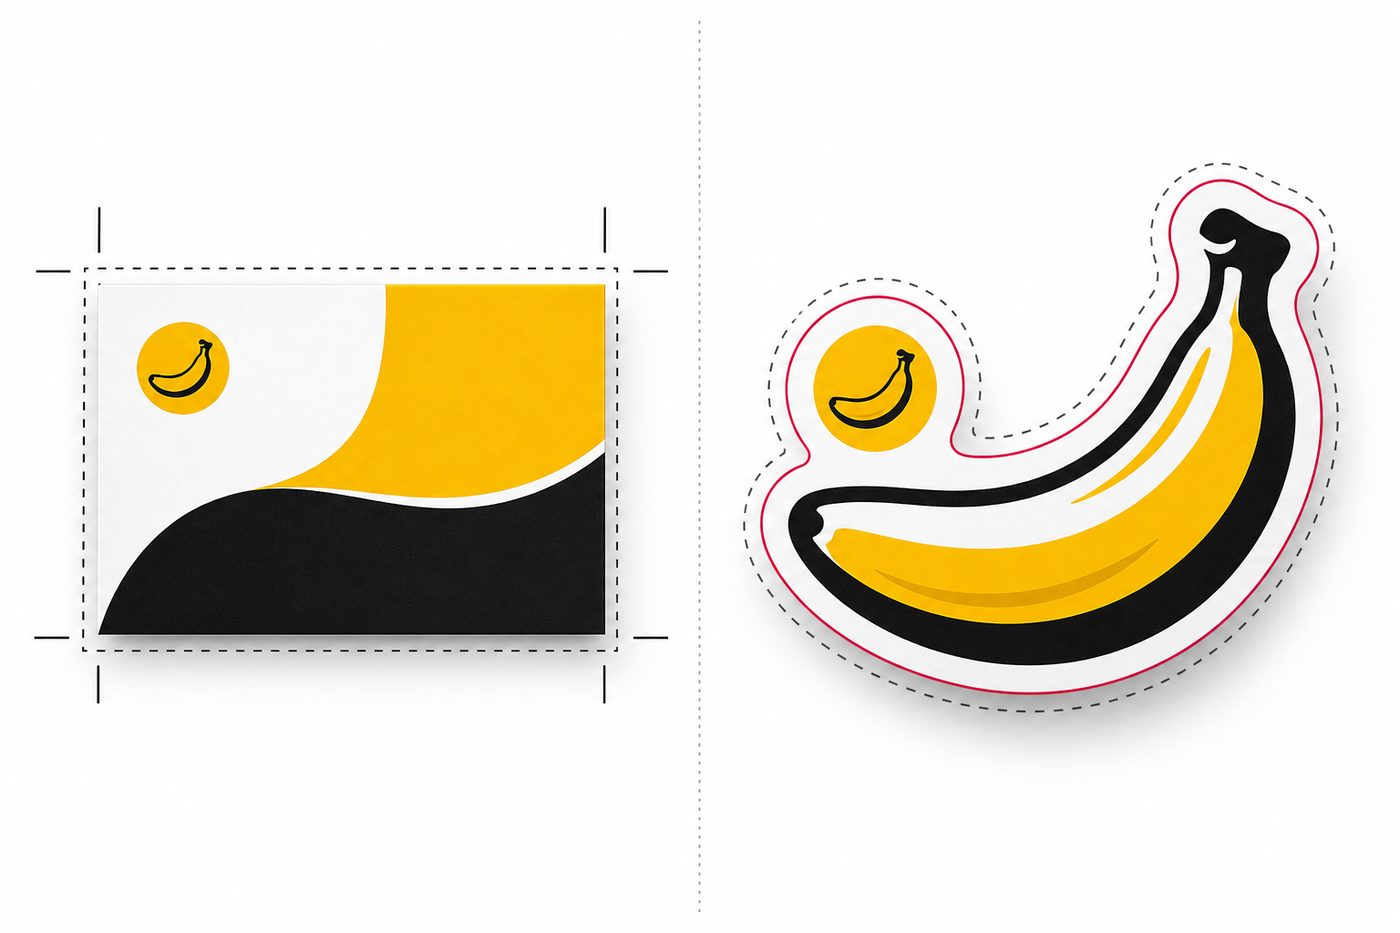
A straight cut usually trims a printed piece to a square, rectangle or set straight-line dimensions — cards, flyers, posters, document inner pages and the like. The cutting direction is simple, so cost and production planning are usually straightforward.
Die cutting, by contrast, cuts a shape along a defined outline. It can be a circle, a wavy edge, a product silhouette, a logo shape, a character or mascot outline — or it can have a hollow centre or a special opening. The biggest difference isn't whether it looks nicer: a straight cut trims a size, while die cutting trims a shape.
Once you're cutting a shape, your print file can't just be a single image — it also needs a clear cut line so the production side knows where to cut and where to keep.
| Cutting method | Common examples | Design focus |
|---|---|---|
| Straight cut | Business cards, flyers, posters | Size, bleed, safe margins |
| Rounded corners | Rounded cards, membership cards | Don't place information too close to the four corners |
| Die cutting | Custom-shape stickers, display boards, props, hang tags | Needs a clear cut line and safe margins |
| Cutouts / holes | Tag holes, packaging windows, shaped cards | Mark what gets removed, and consider structural stability |
Which printed products suit die cutting?
Die cutting is most often used not to show off, but to make a printed piece fit its purpose. If your design needs a shape to complete the message — a cup shape, a heart, a product silhouette, a character, a logo outline or an arrow pointer — die cutting looks more natural than a plain rectangle.
Printed products that commonly suit die cutting include:
- Logo stickers, product labels, packaging stickers.
- Custom-shape cards, hang tags, invitations, brand mini-cards.
- Handheld signs, event photo-op boards, themed props.
- Rigid display boards, door signs, wayfinding signs.
- Vehicle stickers, window decals, floor decals or large advertising stickers.
For sticker materials, for example, you might start with PP sticker printing, then decide from the actual use whether you need custom-shape cutting, or whether the cut should follow a logo, a product outline, an illustration or a label shape.
On the other hand, if the content is mostly text — a price list, an event schedule or information that needs to be read clearly — a plain square or rectangle isn't necessarily worse, and may even be more practical. In a nutshell: if you're relying on shape to boost recall, consider die cutting; if you're relying on text to get the message across, a straight cut is probably the safer bet.
Stickers, cards and display boards: what changes with die cutting?
Different products carry different risk points when they're die cut. The smaller the sticker and the more complex the shape, the trickier the edges become. Cards and hang tags need attention to feel and safe margins — don't push phone numbers, URLs, QR codes or small text right up to the edge. Display boards and event props have to account for physical structure: a thin protruding element can look gorgeous on screen yet turn out flimsy once it's a real object.
Why does die cutting affect cost?
Die cutting usually involves more production considerations than a straight cut, so it can cost more. Factors that affect the cost include shape complexity, finished size, print quantity, material type, whether a cutting die is needed, the cutting method, and whether extra setup and test positioning are required.
Traditionally, paper products or some high-volume shaped jobs may be handled with a cutting die. Think of a die as a cutting tool built to a specific shape. The more unusual the shape, the more work goes into making and adjusting it. At low quantities, the die cost spread across each finished piece is higher; at larger quantities, the average cost is easier to absorb.
But not every die-cut job uses the same method. Depending on material, size and quantity, it might be handled by a traditional die, digital cutting, laser or another method. You don't need to decide which machine from the outset, but the more complex the shape — the more sharp corners and the finer the details — the more you'll want to confirm feasibility and a quote first.
How should you prepare your cut line?
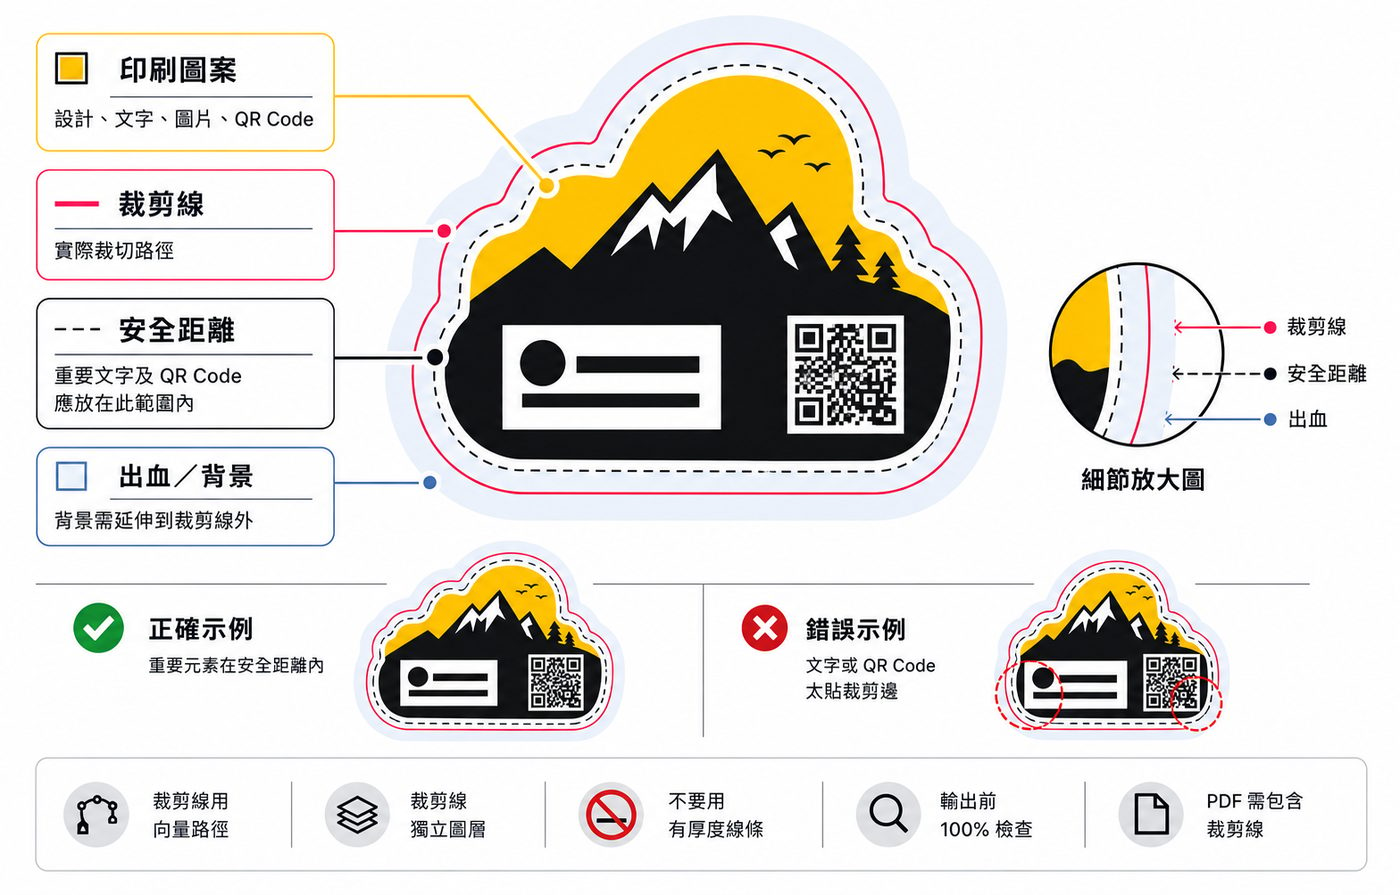
The most important part of a die-cut file isn't a beautiful graphic — it's a clear cut line. A cut line is the path that tells the printer "cut along this line," and it should normally be a vector path, not a blurry image, JPG, PNG or hand-drawn screenshot.
A safer approach:
- Build the cut outline in Illustrator or another vector program.
- Put the cut line on its own layer, or label it clearly.
- Don't mix the cut line into the printed artwork.
- Keep the cut line closed.
- No broken lines, overlapping lines or stray fragments.
- Keep important text, logos and QR codes away from the cut edge.
- Leave bleed and safe margins as the product requires.
For stickers, display boards or event props, the cut line usually follows the outline. For a hollow centre, a hanging hole or a special opening, it's even more important to clearly mark what gets removed and what stays. The ideal file is one where the artwork, the cut line, the areas to keep and the areas to cut away can all be told apart at a glance.
Which shapes cause the most trouble?
Not every good-looking shape suits die cutting. The ones that cause the most problems are usually outlines that are too thin, too pointed, too dense or too detailed. A design may look exquisite zoomed in on screen, but once it's actually cut, small protruding parts can distort easily, be prone to damage, or leave edges that aren't stable enough.
When designing, watch out for these:
- Avoid too many sharp corners.
- Avoid extremely thin protrusions.
- Avoid outlines that are too fragmented or too dense.
- Avoid placing text, phone numbers or URLs too close to the cut edge.
- Leave enough clear space on all four sides of a QR code.
- If the shape is very complex, confirm first that it suits the material and size.
- For large-format pieces, consider mounting, handling and the stress on the edges.
Sometimes, simplifying the shape a little actually makes the finished piece more robust — rounding off a corner that's too fine, simplifying an overly detailed character's hair, thickening a connecting joint that's too thin, or turning a fragmented outline into a cleaner one. This doesn't make the design worse; it makes it better suited to becoming a physical object.
Are die cutting, rounded corners and cutouts the same thing?
They all involve cutting, but the process and the best use aren't quite the same. The easiest pair to confuse is rounded corners and die cutting: rounded corners usually don't need a separate die — they're done on a corner-rounding machine (the trade often just calls it "corner rounding"). Die cutting cuts along a defined outline, and can be done with a die or with digital cutting, depending on material, quantity, shape complexity and production method.
| Finishing method | Common uses | Design focus |
|---|---|---|
| Rounded corners | Cards, hang tags, membership cards, flash cards | Don't place important information too close to the four corners; rounded corners only soften the feel — they aren't custom-shape cutting. |
| Die cutting (DIECUT) | Higher volumes, fixed shapes, jobs that need repeat production | Requires making a die; best for stable shapes — very fine or very sharp areas should be assessed first. |
| Digital cutting | Small runs, short-term jobs, stickers or displays with varied shapes | Suits more flexible shaping, but still needs a clear path and safe margins. |
| Laser cutting / engraving | Cutouts, windows, fine lines, shaped cards | Can achieve high detail, but the edges may show scorching or burn marks, especially on certain papers or colours. |
In short, if you just want a card that feels a bit softer, rounded corners may be enough; if you want the whole piece to follow a brand graphic, product shape, illustration or character outline, then consider die cutting. If you need a window, a hollow centre or very fine cutting, laser cutting may be the way — but accept that the edges can come out with dark or scorched marks.
Before you supply your file, the most important thing is to spell out the effect you want: just rounding the four corners, cutting away the outline, or opening a hole in the middle. The three sound similar, but the production method, design limits and cost picture are all different.
Final pre-flight checklist
Before supplying a die-cut file, we suggest checking the following to cut down on back-and-forth:
- Is the cut line clear, closed, with no broken lines or stray segments?
- Is the cut line marked separately from the artwork?
- Is the cut line a vector path rather than a JPG/PNG screenshot?
- Are important text, logos and QR codes clear of the cut edge?
- Is the shape too thin, too pointed or too complex?
- Have you confirmed the material suits the shape?
- Do you need bleed or safe margins, handled as the product requires?
- Has the text been converted to outlines?
- Are images embedded or correctly linked?
- Is the file in CMYK?
- Have you exported a PDF and reopened it to check?
- If there are cutouts or holes, are the areas to be removed clearly marked?
If you're not sure your cut line is right, organise the artwork, the cut line and the intended size separately, then confirm with your print team. That step is usually faster than sending one file where everything is mixed together.
FAQ
Does die cutting always need a die?
Not necessarily — it depends on material, size, quantity and production method. Some paper products or high-volume shaped jobs may use a die; some stickers, display boards or small-batch jobs may be handled with digital cutting or another method. The safest move is to supply the size, material, quantity and cut line first, and let the print team decide.
Can a die-cut shape be very complex?
You can have unusual shapes, but more complex isn't better. Shapes that are too thin, too sharp or full of fine fragments can leave the finished edges unstable, make cutting harder, or hurt the look. It's best to keep a reasonably clear outline.
Can I draw the cut line as a JPG or PNG?
Not recommended. The cut line is best as a vector path, clearly marked on a separate layer or file. JPGs, PNGs or screenshots tend to have unclear edges and inaccurate proportions, and may not work directly as a cutting path.
Will die cutting make the turnaround longer?
It can. Die cutting requires confirming the cut line, shape feasibility and finishing method, and some jobs may also need extra setup or die arrangements. If you have an event deadline, confirm your file early rather than adding a die-cut request at the last minute.
Is die cutting always more expensive?
It usually involves more steps and setup than a straight cut, so it can cost more. But the actual price depends on material, size, quantity, shape complexity and production method. A simple circle and a complex character outline won't share the same cost or difficulty.
Ready to start your die-cut job?
Before you begin, it helps to gather your product's purpose, material direction, intended size, quantity, artwork, cut line, and whether there are any cutouts, holes or special shapes.
If you're planning a die-cut sticker, display board or event prop, sort out the use, size, quantity, material direction and cut line first, then confirm the approach with us. Not sure whether your shape will cut cleanly? Send your design and the effect you're after to Printing Banana and we can advise on the cutting direction, what matters when you supply the file, and whether the shape needs simplifying. We deliver across Hong Kong and Macau, and you're welcome to WhatsApp us at +852 3001 5678 (English is fine).