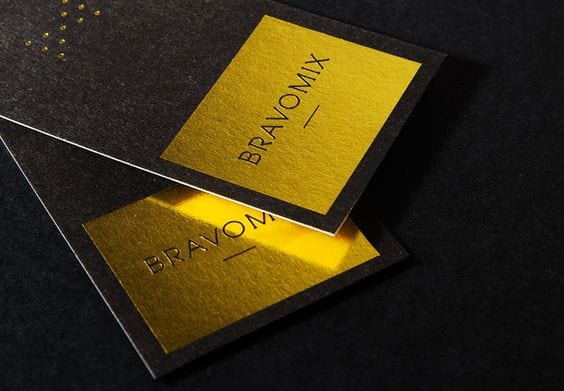
Foil stamping has become one of the most important finishing crafts in print, and the technology is now mature enough to be expressed in several distinct ways. When you are printing or designing a card, it is worth knowing the five foil techniques below. All five can be applied to cards, each has its own character, and you can pick the one that best suits your design.
Flat foil stamping
Flat stamping is the most common foil method: only the artwork or text you want foiled carries the metal, while everything around it stays blank or holds ordinary printed content. The point is to make the foiled area stand out and to put your most important information in gold. Compared with more involved techniques such as reverse stamping or multi-layer foil, flat stamping is lower in difficulty and less prone to error. Being the simplest foil craft, it is also gentler on the paper.
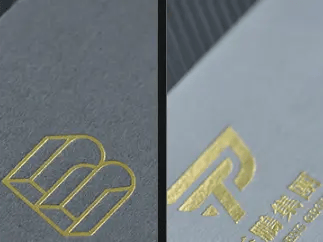
Left to right: grey stock with matte gold foil, white stock with matte gold foil.
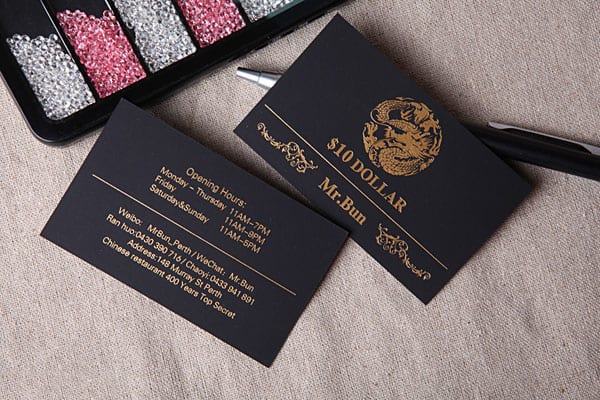
Black soft-touch card, matte gold foil on both sides.
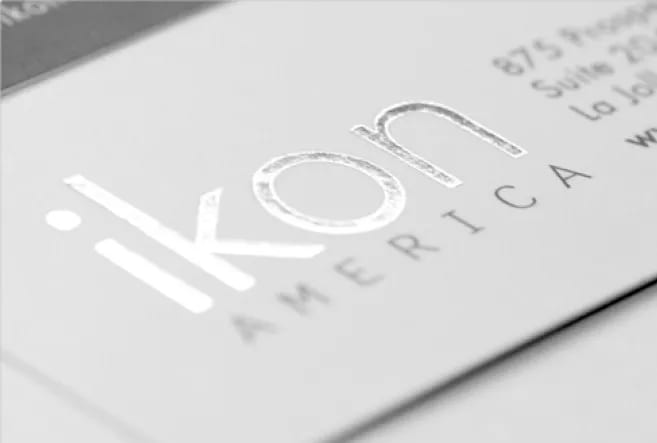
White card with gloss silver foil.
Reverse foil stamping
Reverse stamping is the inverse of flat stamping: the metal is used to knock out and reveal the blank areas, while the foil itself acts as the backdrop. The usual approach is to place a large shape around the artwork you want to highlight — the surrounding shape is foiled and the artwork is left hollow, so it reads as a negative, reversed effect. When the surrounding foil area is large, the price goes up. The lines of the artwork you are highlighting also cannot be too fine (you want 6 pt or above), or the finished result will disappoint.
If you are foiling onto specialty paper, factor in the stock's texture. A surface that is not smooth is not ideal for reverse stamping, because the precision of large-area foiling is easily thrown off by the paper grain.

Pearlescent white card with matte gold foil — reverse stamping lifts the pet out of the background.
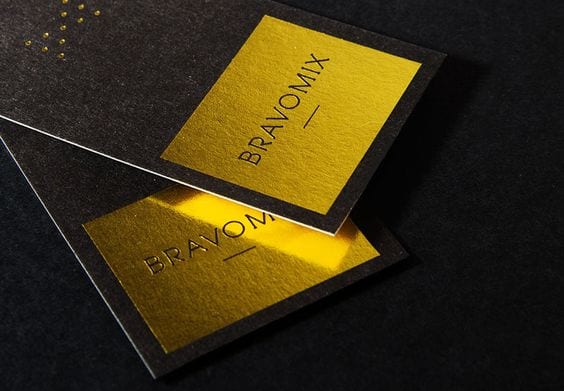
Black card with gold-yellow foil — a large foiled area frames the logo lettering.
Print-and-foil overlap
Overlapping print and foil is a craft that really tests the operator's skill: the design deliberately marries the foil to a printed colour. The operator prints first and foils afterwards, and the foiling pass demands tight registration — but the finished piece looks first-rate and full of character. It tests more than the operator's hand, too; it tests the designer's eye for colour pairing.

White card with silver foil; the crossbar of the "T" was printed first and the rest stamped on top afterwards.
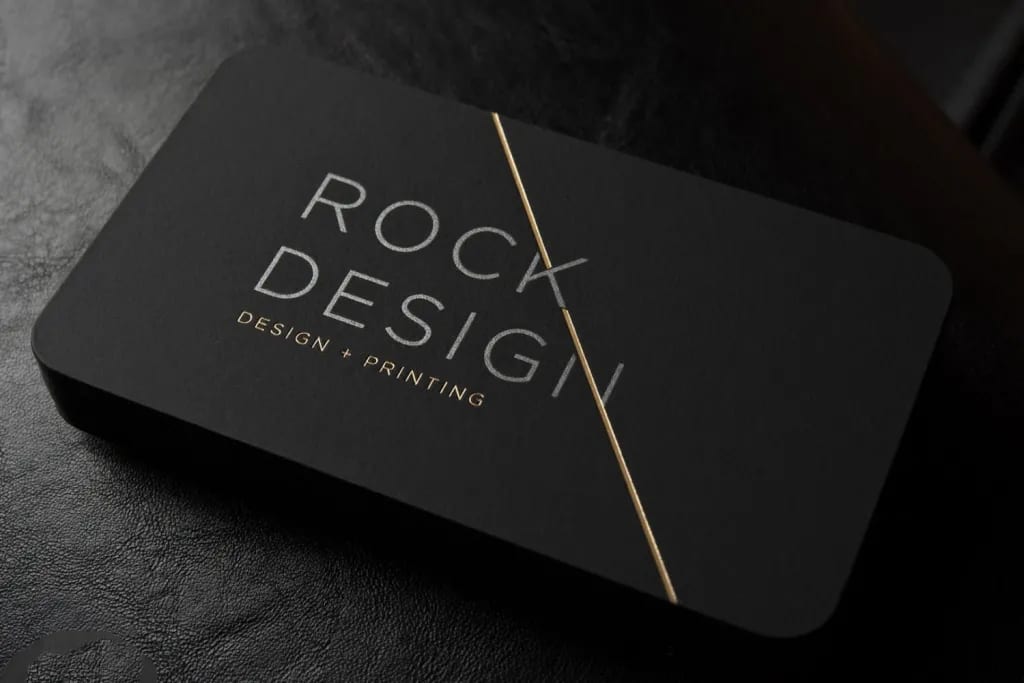
Black card, silver ink plus matte gold foil; the "ROCKDESIGN" silver lettering was printed first and the rest foiled after — the gold diagonal lines demand very high precision.
Multi-colour foil stamping
To make artwork pop, plenty of designers foil the same element twice or more — this is what we call multi-colour foil. Like print-and-foil overlap, it calls for high-precision stamping; the difference is that overlap combines a colour with foil, whereas multi-colour foil overlaps several foil colours. When several colours each need their own foiling pass, watch the foil positions and how well the foils sit together. If a designer places two foiled areas too close, the two colours can smear into each other.

Matte-laminated card with gloss gold and gloss blue-gold foil.
Sculpted (3D) foil stamping
Combine foil with embossing and you get sculpted foil: the foiled area is raised into a three-dimensional relief. One thing to watch — the back of a sculpted foil sits in a matching recess, so remember to leave the reverse side blank in your design, or any graphic or text there will be disrupted.
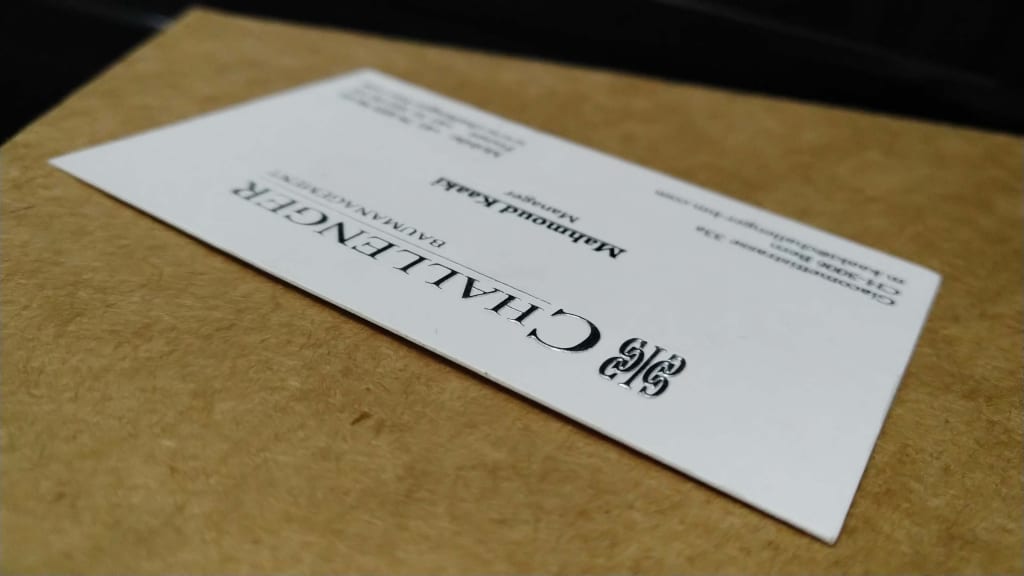
White card, embossed (sculpted) silver foil.
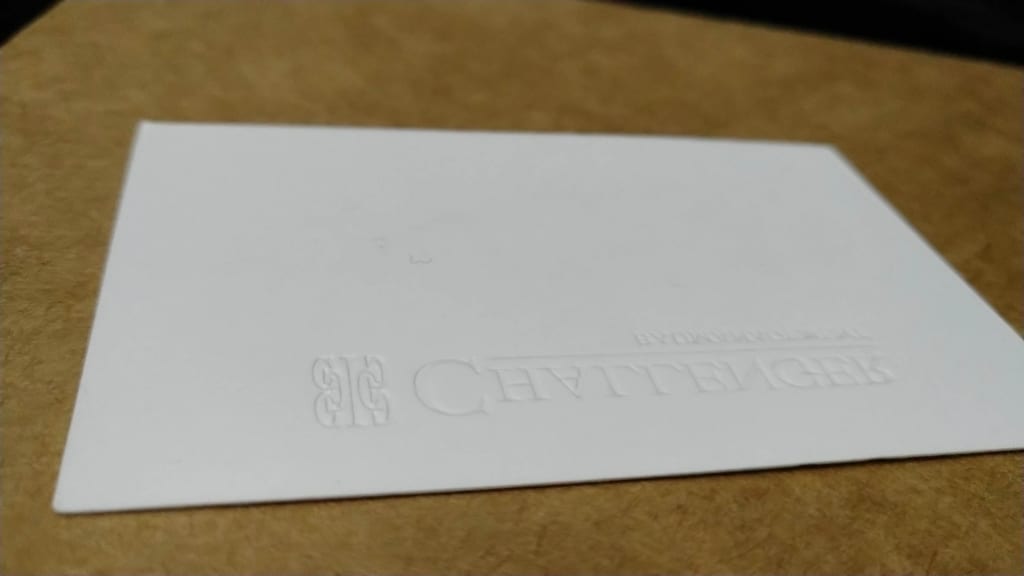
Reverse of the white card with embossed silver foil.
Printing Banana produces every one of these foil finishes on cards, with delivery across Hong Kong and Macau. If you are not sure which technique suits your design, WhatsApp us at +852 3001 5678 — English is fine.