Designers love reaching for the Transparency panel in Adobe Illustrator, and dialling opacity up and down really is a handy way to build an effect. For print, though, transparency can be a nightmare. On screen it is no problem, because a monitor can display far more colour than a printing press ever can. This article walks through how transparency behaves once your artwork reaches the press, and what it does to the finished print.
How is transparency set in Adobe Illustrator?
In Illustrator you can set an opacity value on any image, piece of text or shape. Left untouched, opacity sits at 100% — a solid, fully opaque colour with no transparency at all. Drop it to 0% and the object disappears completely. To land a particular look, designers will often lower the opacity of an image.
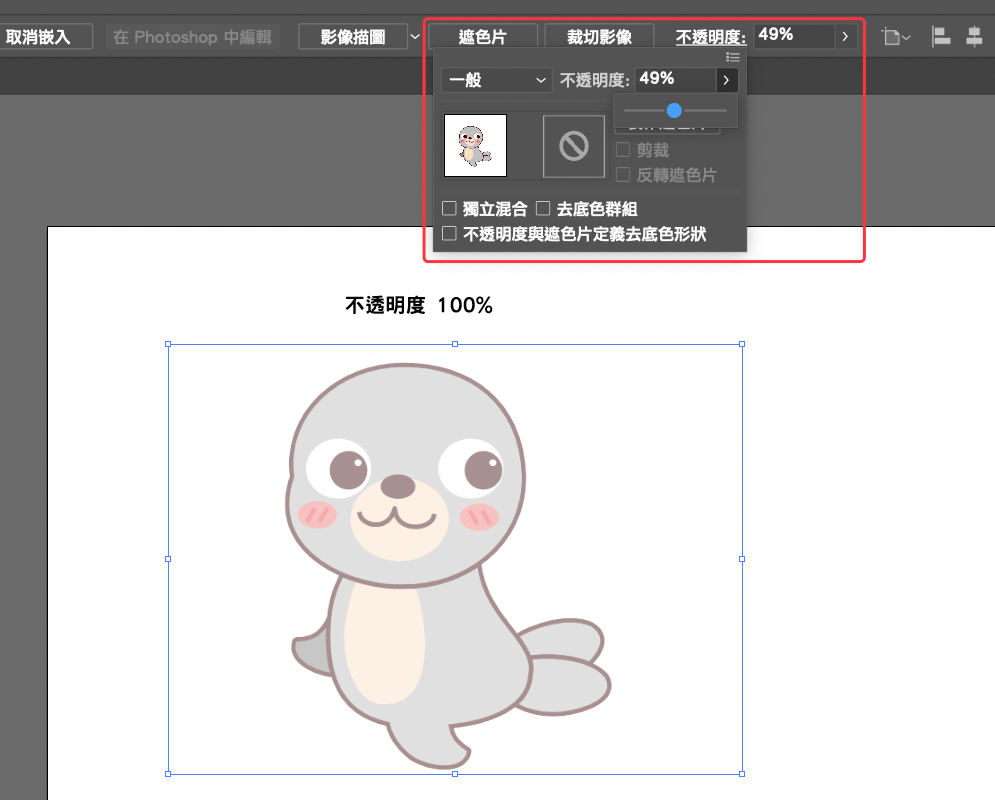
What happens when you print a semi-transparent image?
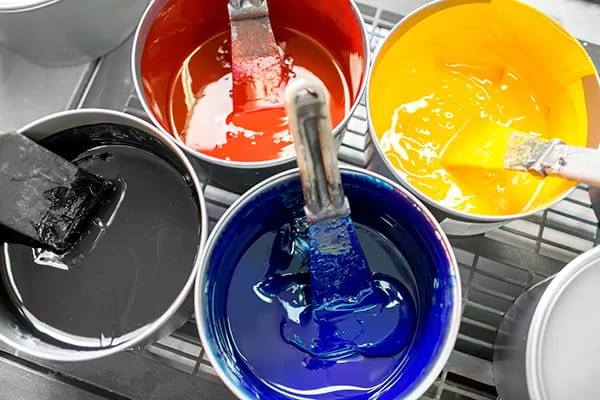
If your image is a PNG with a transparency effect applied, that effect can vanish somewhere between your file and the printed sheet. Transparency simply does not exist in a printed piece: the press reads the value at each point of the image and decides how much ink to lay down. There is no such thing as transparent ink, so the press only ever reads the image's original content — or the lightened pixel data — and prints that. This is exactly why transparency is not recommended for print-bound artwork.
What if I really need a transparent effect?
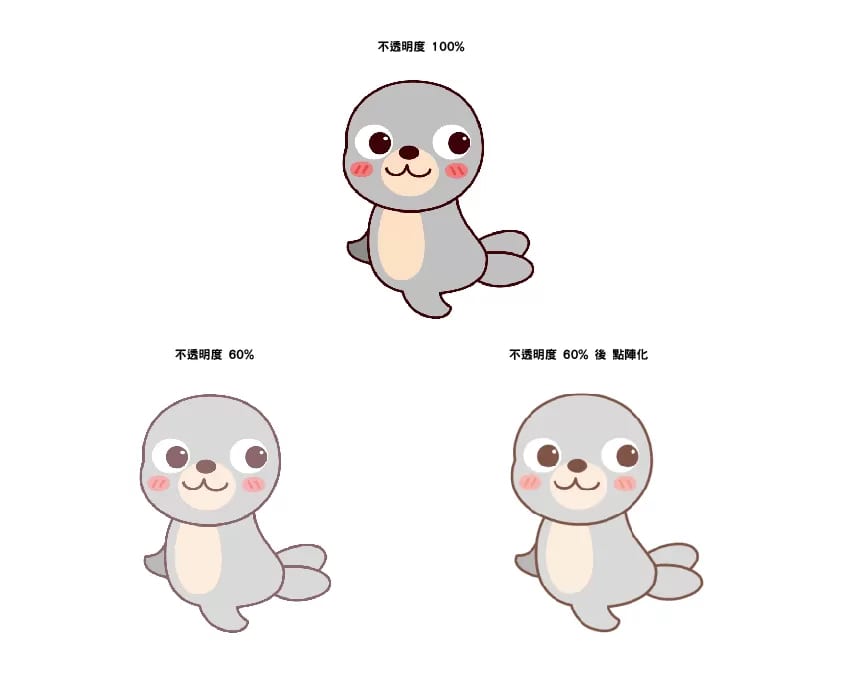
If your design genuinely depends on a transparency effect, flatten the image once you have finished adjusting it. Convert the transparent artwork into a JPG and you sidestep the printing problems transparency causes, while keeping the look you designed. Just be careful: colours can shift once an image is flattened — as in the example below — so handle the adjustment with care.
Transparency isn't the only culprit — Appearance effects behave the same way
The same advice applies to every image treatment in Illustrator: flatten before you print, so the effect is baked firmly onto the image. The catch is that once an image is flattened it becomes a brand-new image, and none of the effects you set beforehand can be edited any longer. So save a copy under a new file name before you flatten — otherwise there is no going back.